The murphy bed is assembled! Woo hoo! After all the scary and meticulous measuring, it was a fairly easy and stress-free process to put all the parts together. My assembly went according to the instructions on the DVD. The only snags were caused by my house being so old.
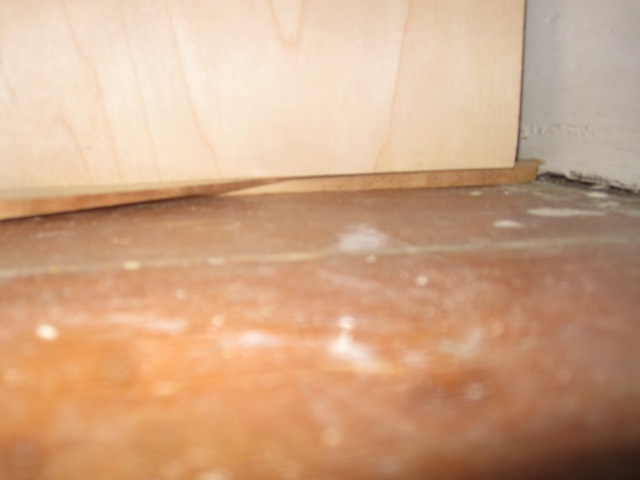
One difficulty was that the floor and walls are not square. I had to shim the bottom of the cabinet.

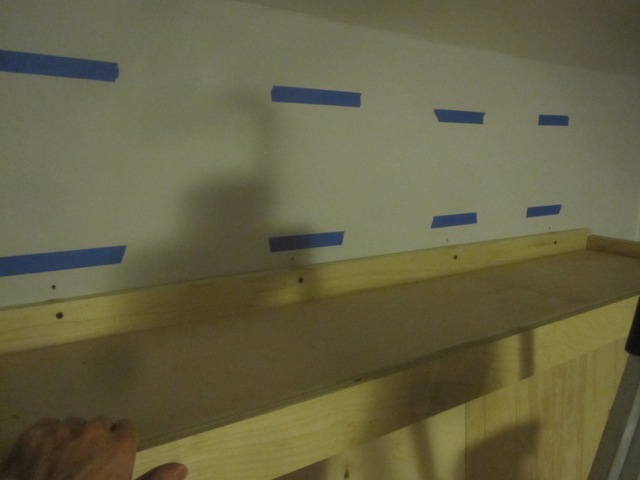
Another difficulty was in finding the studs in my walls. I have plaster over lathe. I wasn’t sure an electronic stud-sensor would work. I asked the guy at the store, and he talked for quite a while with me (he was quite a talker). He said when he used a stud-sensor, he would confirm by drilling into the wall and seeing if the drill hit any resistance. I am so glad he gave me that tip. I used his trick. It gave me such peace of mind. I know for sure my cabinet is attached to the wall-studs and will not be crashing down on anyone.

I still have to finish the bed frame, attach some trimwork, and paint the cabinet, but the moving parts all function properly. Yay!
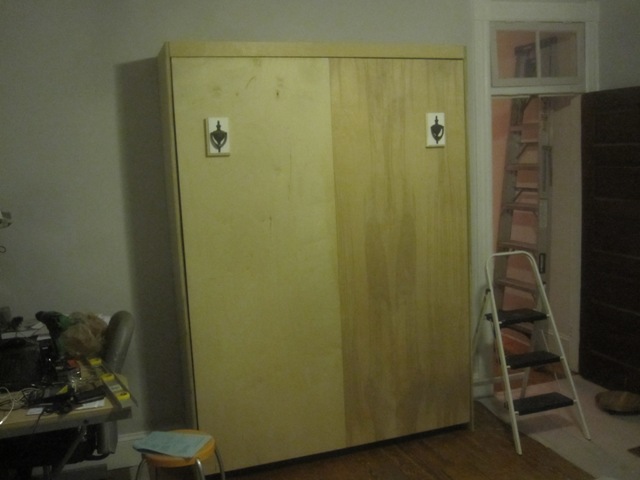
CLOSED:

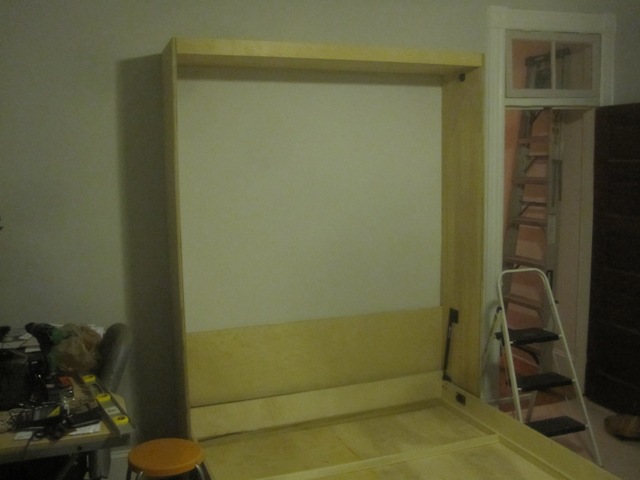
OPEN:

You are a genius! Congrats on a job well done.
*gasp* It is beautiful! Oh, my. Really – it looks so good, I’m a little speechless.
Are you going to paint it like a TARDIS? That would be funny, by more appropriate if it was a twin. Plus, I see it has already been done.
YAY!! You did it!! And what a stupendous, marvelous job!! Plus you finished on schedule! That is such an accomplishment….it makes me feel shameful for the small tasks I can’t seem to get done.
Now to sleep in it.
…and nobody’s commented on the ghost in your test hole snapshot yet! (I know, I know; just your shadow…yet, there are those who would use just those sort of stills as “proof” of…well, you know…)
Outstanding! This is something in which to take serious pride, sir. [I tried to post already about the room still needing a disco ball and working on a mansion the size of the Biltmore Estate over your summer break now, but all that seems to have gone into cyberspace never to return. 🙁 ]
I wish I had documented my Murphy Bed Project so thoroughly! Mine came out great, too! I went the oak route, stained and polyurethaned. Order special “pulls” online, oversized, and trimmed it out in oak mitered panels. It was a great DIY project. Planning a matching shelving unit with a pull out drawer to function as a night stand when the bed is in use. Congrats.
facebook/mcwells7 for video
It sounds like you went all-out, Michael. I haven’t gotten to the finishing touches on my cabinet yet. I’d like to use long cabinet handles to make it look like a wardrobe. And I intend to paint it to match the built-in shelves in the room.