Before recording yesterday’s progress, let me first ask for prayers. My dad had a fall on Sunday, and it really weakened him. My family in Seward are all talking about what’s next for his care-taking. It’s been a difficult week for them. Prayers for strength and wisdom would really help.
And now, for the memory archive, yesterday’s progress:
The hard thing about doing a project you’ve never done before is all the stuff you don’t know.
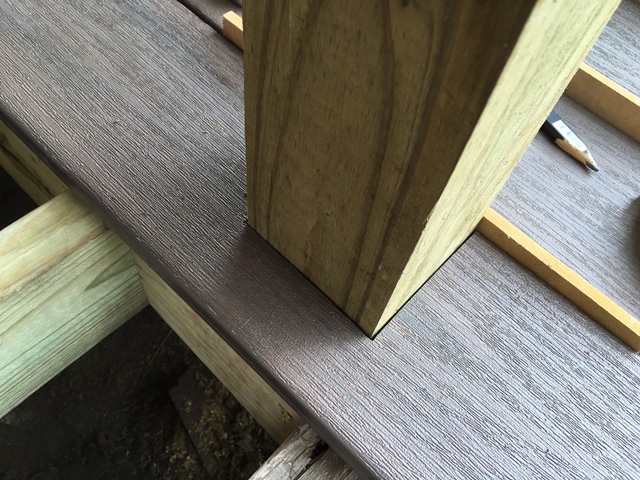
Yesterday, I decided I would start on the railings. The railing kits have everything I need, including hardware and screws. Except the instructions assume you are screwing into wood. My railing posts are wood, but my columns are fiberglass-reinforced polymer, and they’re only a quarter inch thick. I needed some screw anchors.
I went to Home Depot and stood in front of the screw anchor display for a long time reading labels for weight ratings. I found what I wanted, but they were for number ten screws. What were the screws that came in the railing kit? I had brought one along, so I measured it in their handy-dandy screw gauge measurer. Number eight. Dang. But wait! I also had the little piece with me that the screws go through. Did number ten fit? Yes! Hooray!
The anchors called for one and a half inch, number ten screws. I went to the decking screws. Nothing that short. Dang. But wait! I knew from bolt shopping that stainless steel screws are also good for outside applications. Hooray! Now I just needed to find them in the display.
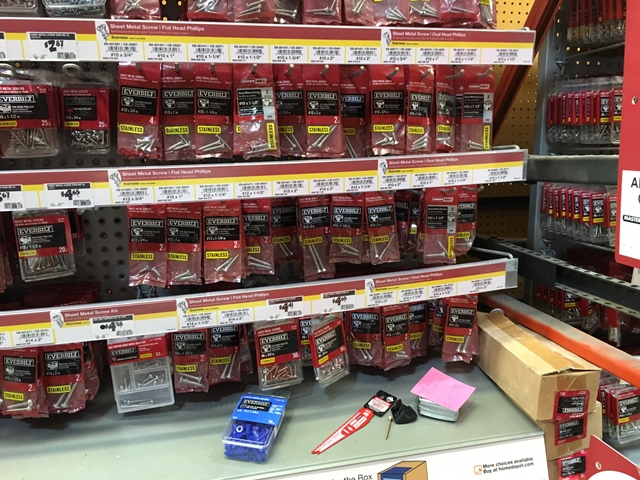
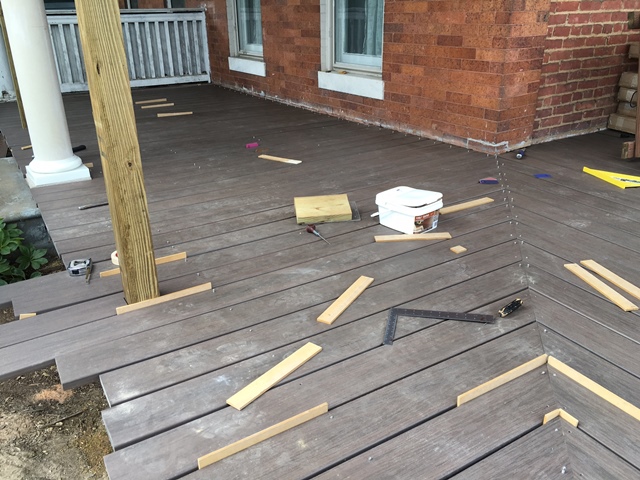
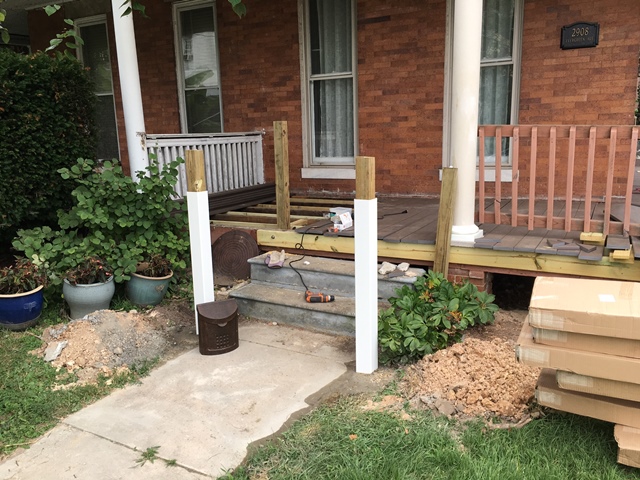
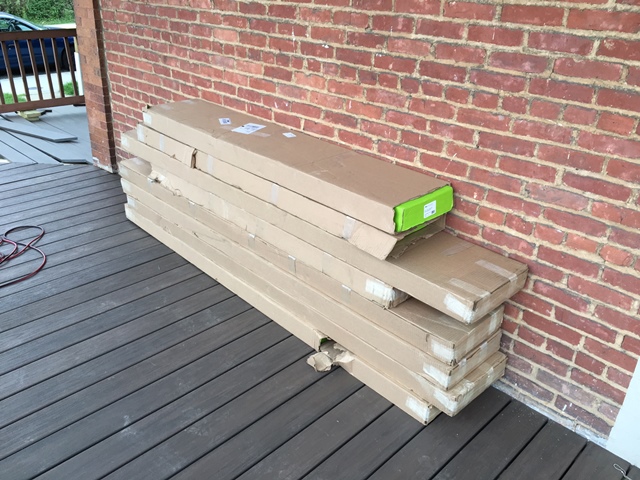
First I got sixteen packets of two, then I saw the box I needed. It’s in the lower right hand corner of this picture.
I got home, and realized I couldn’t do the railings yet. The columns would eventually need to be painted, and it would be much easier to paint without the railings in place. So much of this project has been sequential… I can’t do this until I do that; I can’t do that until I do the other thing. Ack!
Fortunately, I have painted a lot. It was easy for me to select a paint and to take a post cap to the store to get a color match for the railings. It wasn’t easy, however, to paint with this super-duper exterior paint-and-primer-in-one. It was so thick! And it seemed to dry really, really quickly on the columns. It was leaving gloopy, half-dried paint boogers whenever I brushed over something I had painted only a minute earlier.
Dang.
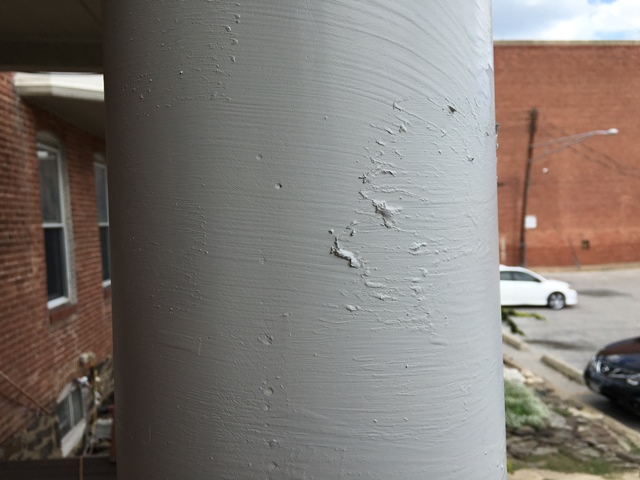
I decided I would paint two coats. I never paint two coats. Ugh. But this way I could sand down the bumps and make a smoother finish. As I continued to paint, I went fast, and kept the paint thick so it would stay wet longer. But I was still having trouble. It was like painting with Elmer’s Glue. The end result is lumpy and the brush strokes are obvious. But I have started to like it. It makes the columns look like they’re made of wood. They match the rest of this hundred-year-old house. Nice. Perhaps I should call this a new kind of faux finish. A distressed or aged wood look. I’m apparently very good at it.
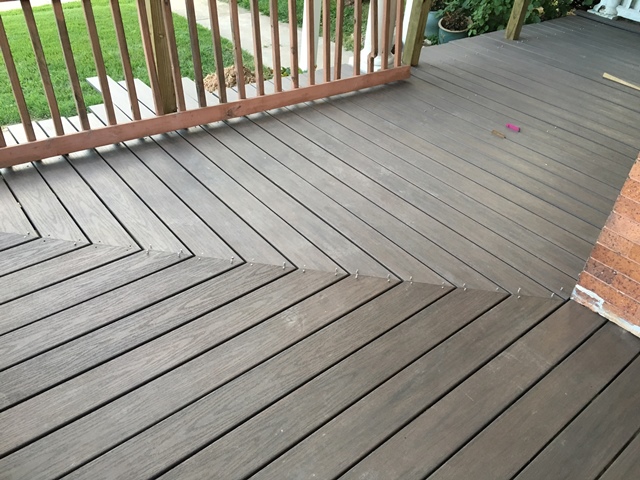
The color looks really good. I thought it would be really white compared to my existing trim color. It’s not. It looks like the same color, but a slightly lighter shade. Yay!

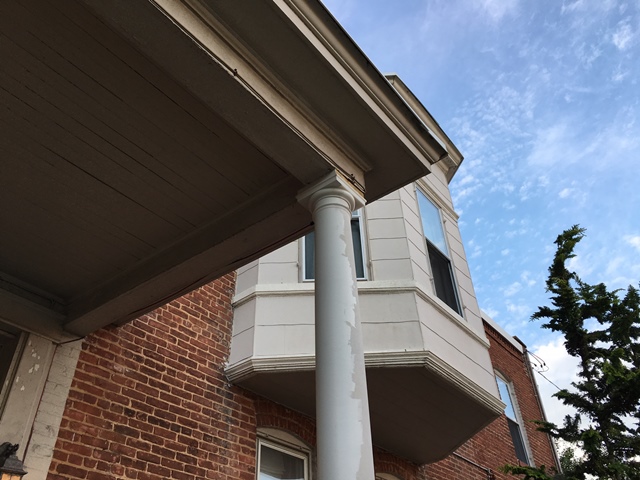
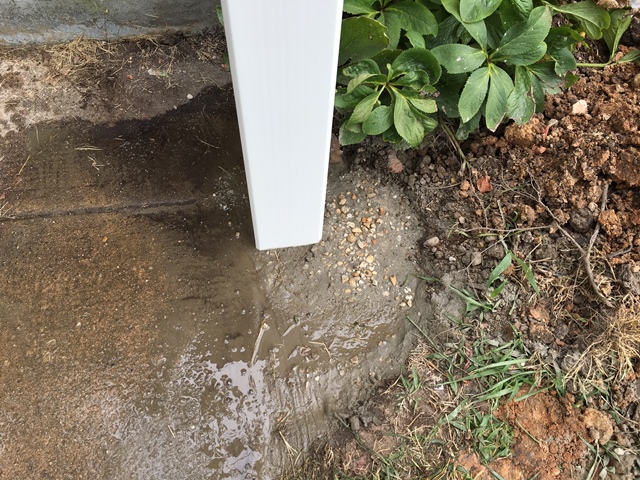
The painted portion of this column is the lighter looking part. It looks really white compared to the porch roof, but it’s not.
The painted part of the column is the lighter color again, but look at it compared to the bay window in back. Nice match!
Recent Comments