Welcome to Brad's online memory archives.

Category: Murphy Bed (Page 2 of 3)

Create-A-Bed Murphy Bed: Day Six

After yesterday’s work, I have constructed all the pieces of the murphy bed! Yay! Now, I need to prepare the wall (by removing the baseboard) and prepare the floor (by removing my experiment with laminate flooring) and assemble the parts. I’m not going to get to the trimwork and painting before Monday, so those things will have to wait until next weekend (or whenever).

Also after yesterday’s work, I am the proud owner of several exotic and expensive drill bits.
I bought this drill bit:
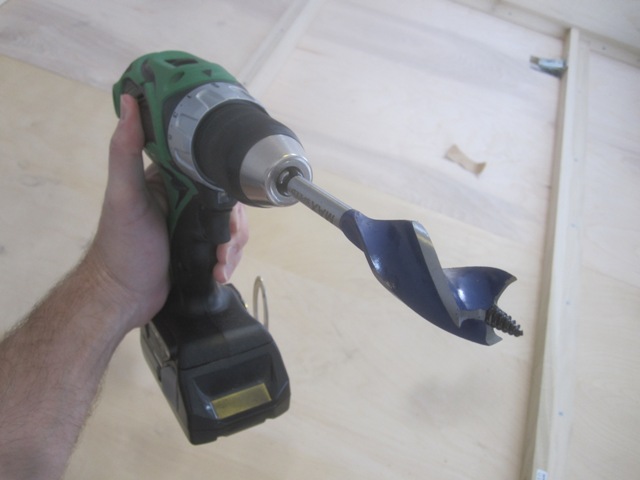
Isnt it impressive?

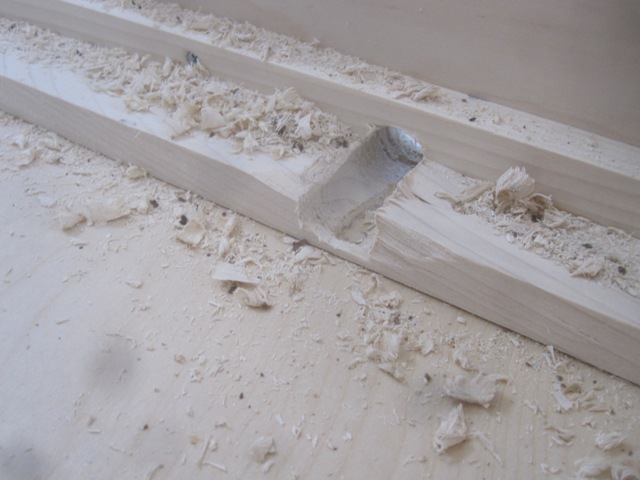
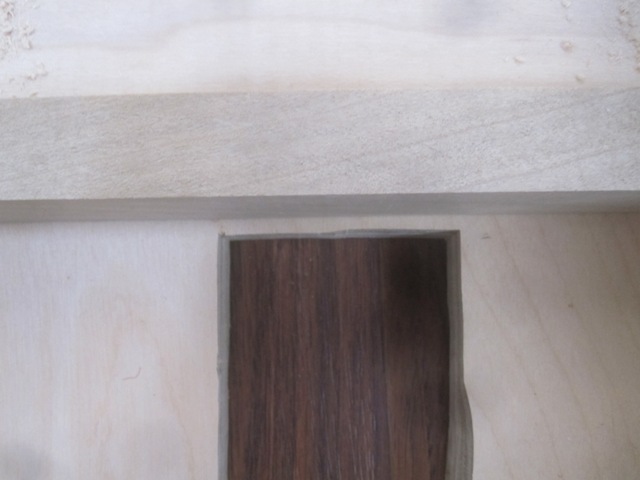
To drill this hole:
It was a scary and noisy process.

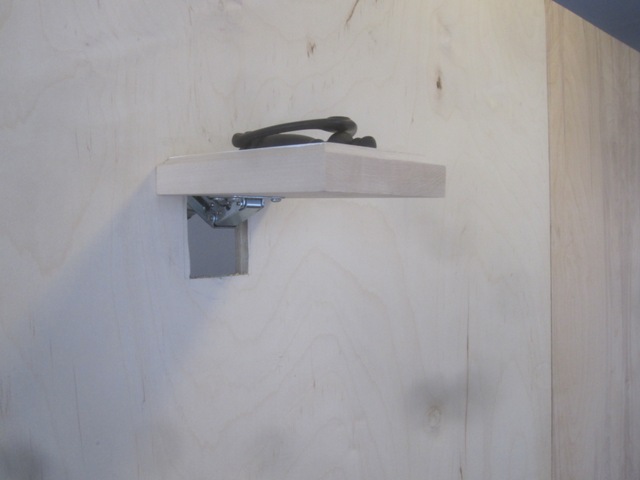
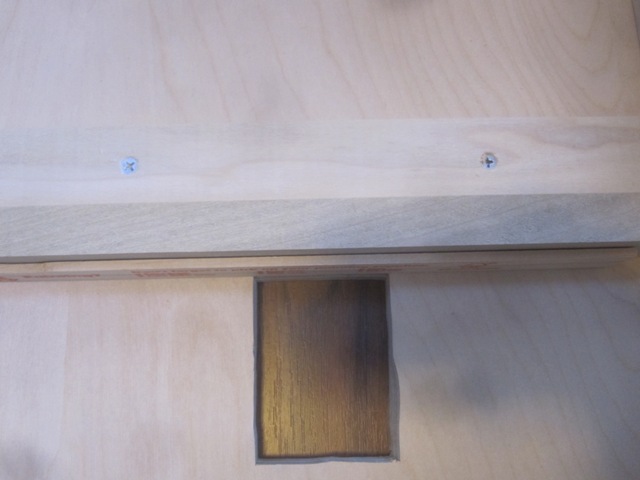
But the fancy bit kept splitting the wood and seizing up, so I went with a regular one inch hole-borer bit. Wasted money. Dang. I drilled two one inch holes for the latches that keep the bed locked in an “up” position:
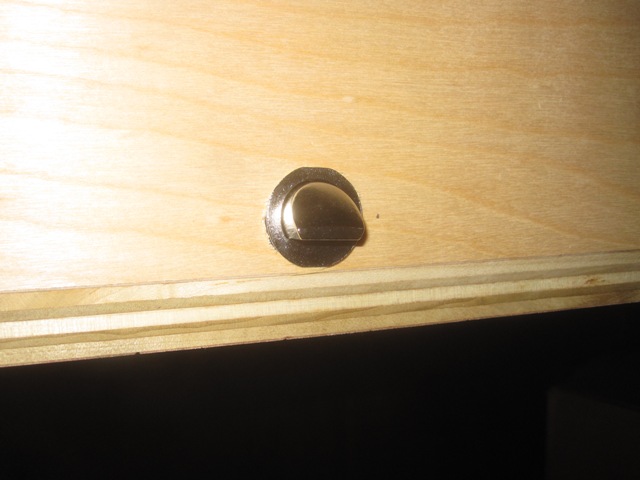
Opening the legs pulls the latch down.

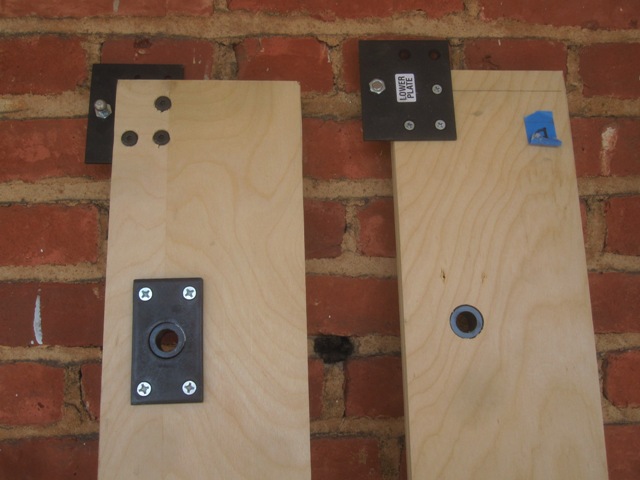
As I was installing hardware into the side panels, the instructions told me to drill a 5/8 inch hole. My drill bit set went up to 1/4 inch, but that wasn’t big enough. Off to the store. I thought I’d save money by getting a 5/8 inch rasp instead of a full-blown drill bit.
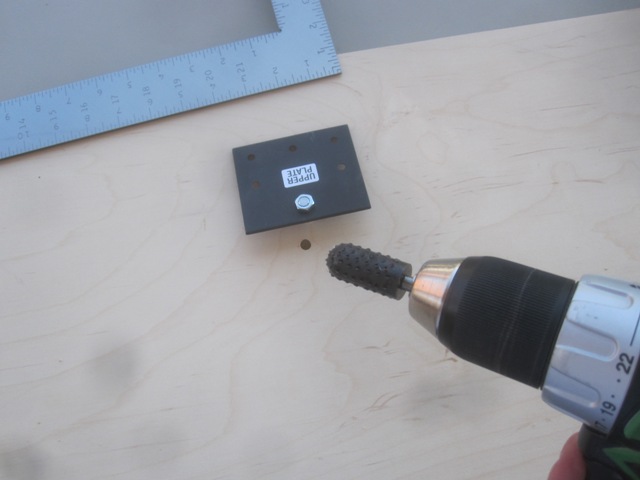
It sort of grinds its way into wood.

But it couldn’t get a hole deep enough for my purposes. More wasted money. Dang. Back to the store to get the other drill bit. After leaving my instructions on a store display and going home, then going back to the store to get them, I finally got back to work and got the side panels done:
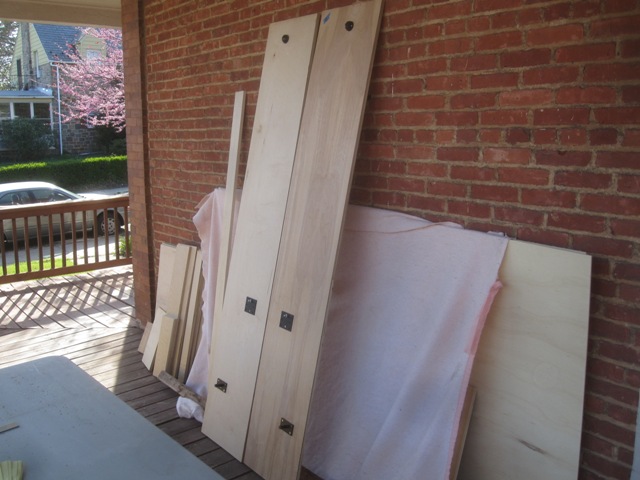
Left and right.

I almost stopped then, but building the “header”, or top of the cabinet, was really easy. It was just gluing and drilling pilot holes and putting in nails and screws. It went very quickly.
I think I will want some decorative molding of some kind.

I can’t decide if I want to spend my time prepping the room today, or shopping for a mattress. I’m so close to being almost finished!
Create-A-Bed Murphy Bed: Day Five

It feels like I’m running out of steam. I seem to be getting less and less done. Yesterday I was going to start by mounting the door knockers on the bed legs. But I needed shorter screws than the ones I had. Off to Home Depot. I got two sizes. Neither of them worked. By then I only had two hours before it was time to Skype into my sister’s college class. Time enough to get other screws? Nah…

After Skyping, it was time to get back to work. But I had an oil change appointment in an hour and a half. Was there time to get the screws? No, I’d get them on the way back after the oil change.

So I started working at 5. Bible study was at 7. Not much time. But I did at least get the legs mounted. There were surprisingly few problems. I had to shim the hinges a little, but everything seems to be in good working order.

So here’s what the legs look like when the bed is in the “up” position.
Its looking good.

Here is one leg up, one leg down, for comparison.
The hinges work very smoothly.

And here’s a closeup of a leg in the “open” position.
It stays open like this as you open the bed.

Create-A-Bed Murphy Bed: Day Four

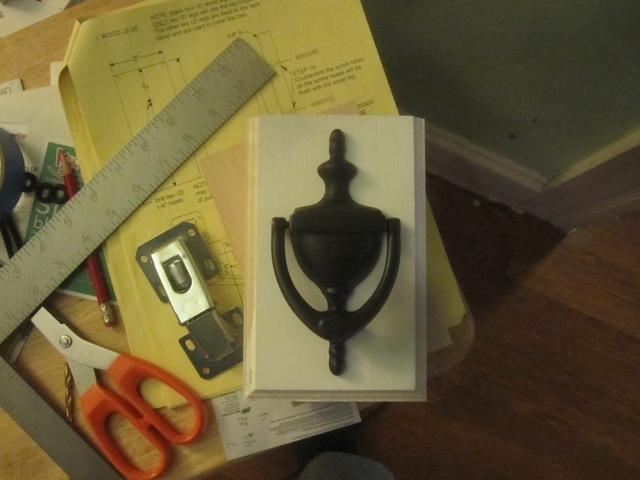
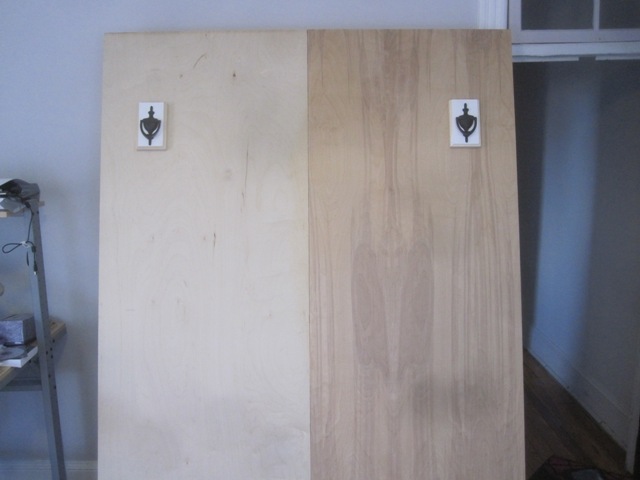
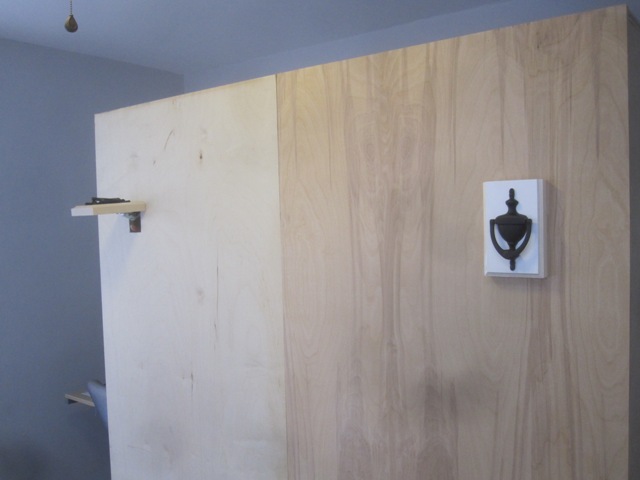
My work was delayed by indecision yesterday. The legs of the bed have handles that must be attached before the legs are installed. I had to decide what handles to get before I could go any further. I want the cabinet to look like something original to the house. I needed handles that had a traditional look, but I also like unusual. Traditional/unusual? I looked for hours before it came to me. I would use door knockers! Ha!
They aren't attached yet.

It was late afternoon by the time I got to work. Then some heart-stopping problems happened.

Problem one: For the locking mechanism, I had to cut holes in the face panels. Because of a funky setting on my fancy jigsaw, my cuts were a little wonky. Dang. But they’re covered by the bed leg panels, so it won’t show. (whew!)

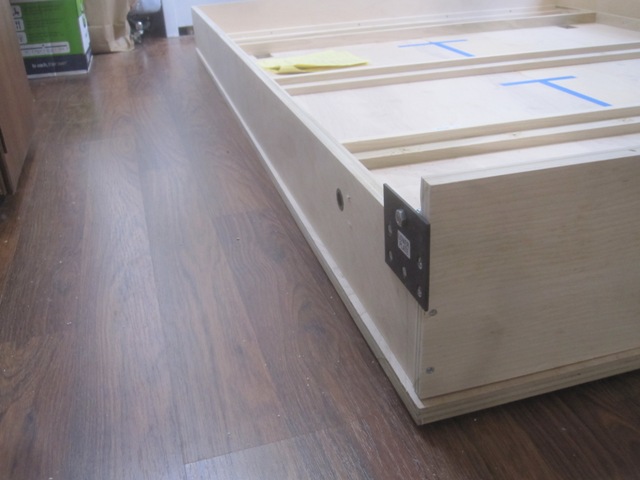
Problem two: Here’s something that is implied in the instructions, but not said explicitly: The bed frame will not be exactly square. When you try to attach it to the face panels, it will be off. Alarmingly off.
Can you see the slant?

But the directions describe how to methodically screw the face panels on, so that everything squares up. (whew!)
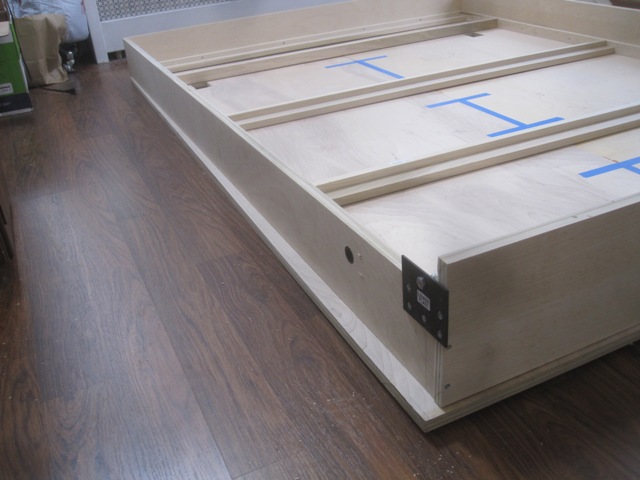
There is supposed to be a one quarter inch overhang.

Problem three: The leg holes were supposed to match up with the bed frame struts, but one of them was off by one sixteenth of an inch. D’oh! I was almost going to cut the hole bigger, but wouldn’t it be better to shim? I searched the basement and found something that was exactly one sixteenth of an inch thick: a paint stirrer! (whew!)
Before the shim.

After the shim.

Create-A-Bed Murphy Bed: Day Three

I did my scariest measuring so far yesterday. I attached metal plates to the bed frame. These plates will be the hinges and the connectors for the pneumatic springs. If the measurements are off, the bed may not open and close correctly. I followed the instructions as closely as I could. I watched the DVD, paused, read the paper instructions, measured, measured again, measured again, read the instructions again, measured again, and drilled the holes.
Plates in place.

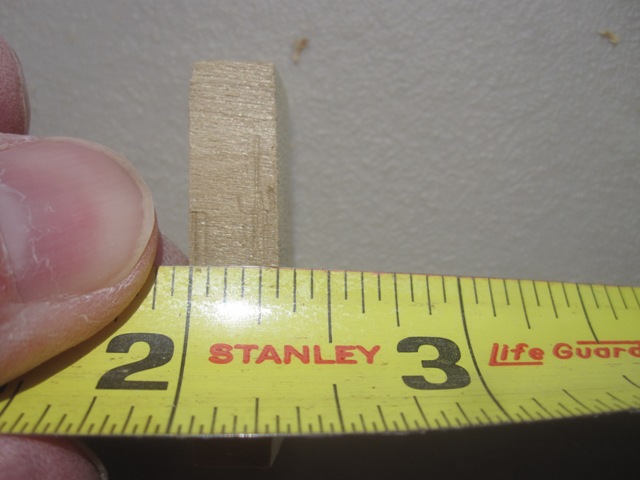
One of the things I took the most care with was a spacer the instructions told me to make. It was to be five sixteenths of an inch. I used an electric sander to get it to the right size.
Exactly five sixteenths.

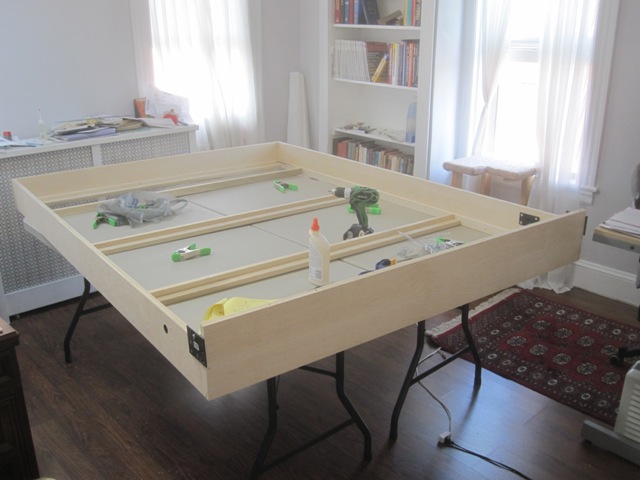
After getting the plates on, I assembled the bed frame. It went very quickly. If the whole project was screwing boards together into a box shape, I would have been done already! Hehe…
I'm glad to have the lightweight folding banquet tables  I can carry everywhere.

Create-A-Bed Murphy Bed: Day Two

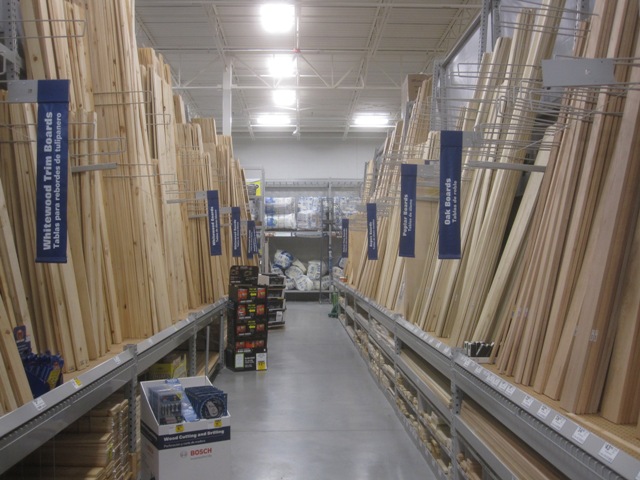
I feel like I didn’t get lots done yesterday. I built the bed frame. It required boards that were 3/4″ by 1-1/2″, otherwise known as 1 by 2. Why is wood not actually called what it is? Or, alternately, why is a 1 by 2 not actually 1 inch by 2 inches? What takes so much time is stuff like this that I don’t know because I don’t have tons of woodworking experience. The instructions say “drill a pilot hole and countersink the screw”. I know what a pilot hole is and I know what countersinking is, but is there a drill bit that does that in one step, or must it be done in two steps? A trip to the store, and fifteen minutes looking at drill bits and I figured it out – yes there is a special bit. But my brain was a little tired from having to think so much. Several incidents like this, and I’m mentally exhausted.

Anyway, for building the bed frame, I had a lot of woods to choose from, but went with poplar. It seemed like a good choice.
I laid the pieces on the floor to see if they were straight.

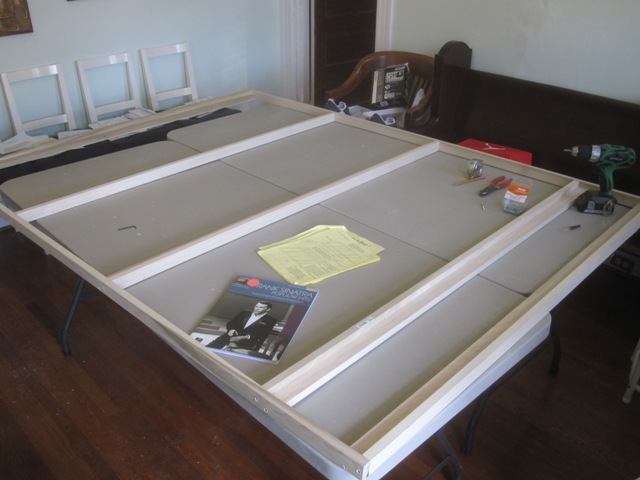
Building the bed frame was actually pretty easy. There was lots of measuring again. And there was careful drilling to be done. And I was trying to assemble it on a surface that was not quite big enough. After much finagling, six ruined screws, a burned finger from a backed-out screw, and sawdust all over my dining room floor, I have a bed frame!
Frank Sinatra held up one side of the frame to keep it level.

I finished my workday by doing the last cuts on the plywood pieces. Today starts with the mounting of the plates that the pneumatic springs are attached to. If I measure this wrong, the whole project will be ruined and the bed will not open and close properly.
But no pressure.

« Older posts Newer posts »

© 2024 bradaptation.com

Theme by Anders NorenUp ↑