Welcome to Brad's online memory archives.

Category: Murphy Bed (Page 1 of 3)

Create-A-Bed Murphy Bed: Final Product

I have finished the murphy bed! Woo hoo! Part of my difficulty in finishing was deciding on what cabinet hardware to use. Part of my difficulty was getting enough dang coats of paint on it. I guess I should have used primer. But it’s so pretty now. I decided to remove the door knockers from the “legs” of the bed. They were difficult to pull because the part that knocks is not attached. Instead, I just went with cabinet knobs. They can double as coat hangers or whatever. So I have two perfectly good door knockers if anyone wants them:
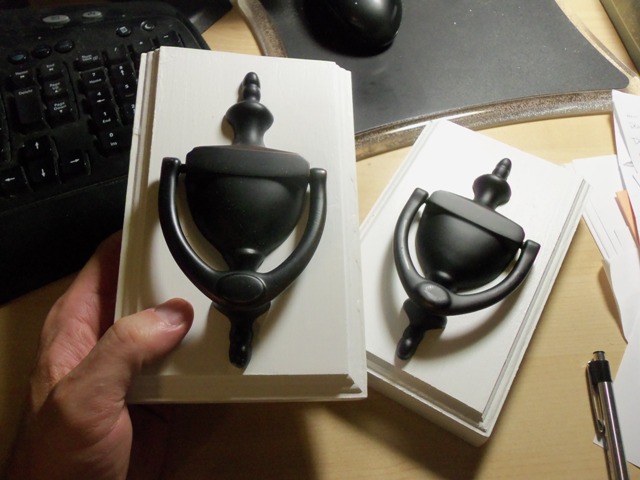
Barely used.

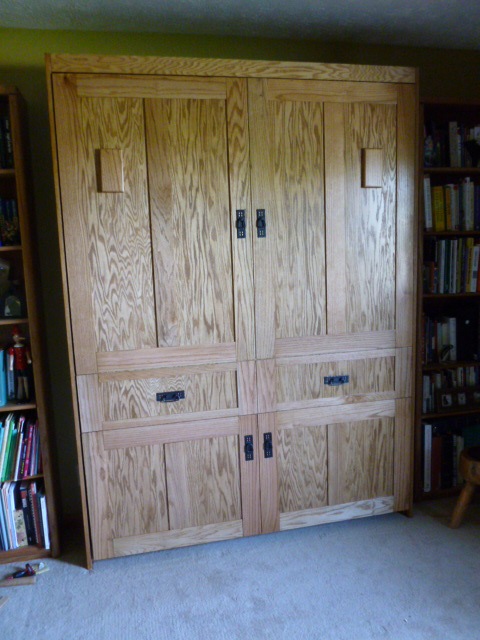
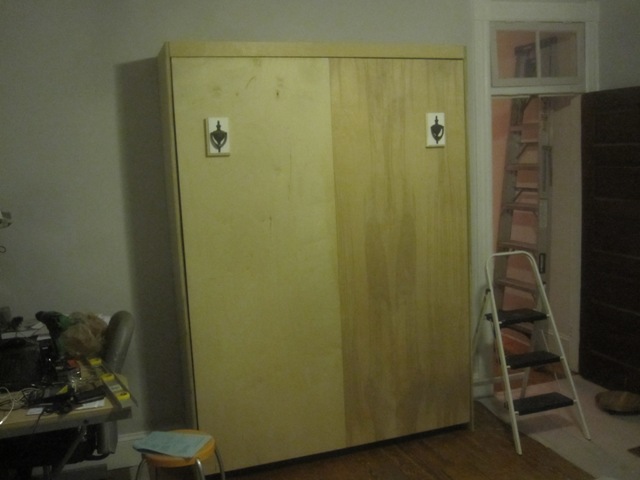
But never mind that! Here is the final product:
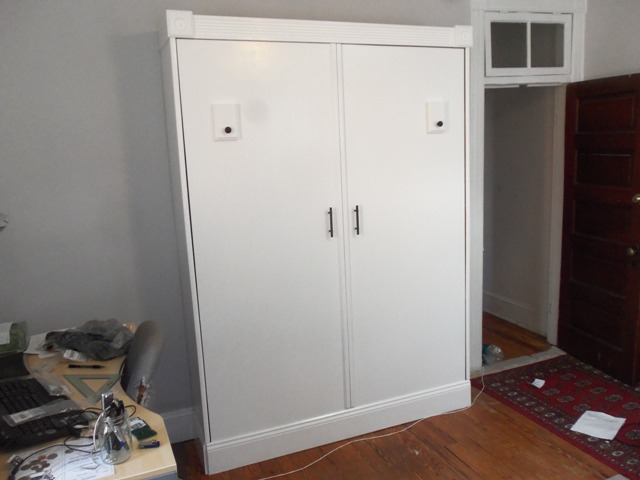
It looks like a wardrobe.

Besides the cabinet hardware, the final finishing touch was a little more trim down the middle to make the panels look more like doors. I think it came out really well.
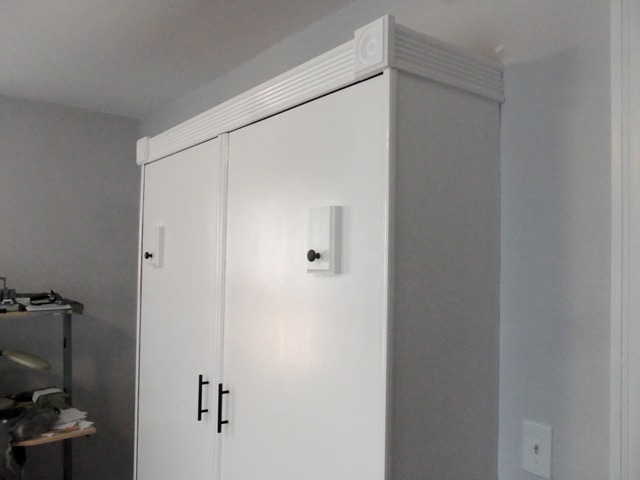
I like it.

In the pictures, the knobs and handles look a little face-like, but in real life the effect is not as strong.
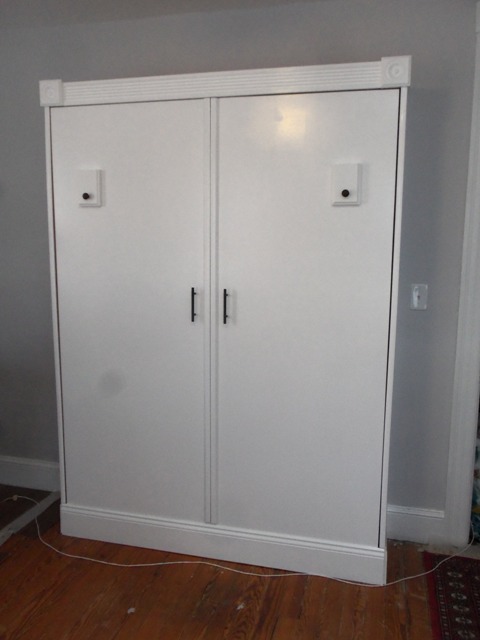
Maybe some day, it will be a kid's room and someone will paint a smile.

To see all the posts on this project, click “Murphy Bed” in the Categories list.
Unfinished Business

Happy Half Birthday to me! Woo hoo! I am awesome!

My house is full of Projects I haven’t finished. I’m pretty good when it comes to longer-term projects: I can get them up and functional. But for some reason, the last step or so just doesn’t quite get done. Off the top of my head: my kitchen is just shy of finished because of some cabinet last-touches; the floor of my downstairs bathroom works, but the tiles aren’t reset; my skylights are open, but not trimmed or painted; my murphy bed is constructed, but not decorated. I hope to get some all of these things done in the next week or so. I’ve had enough sit-around time. I think.

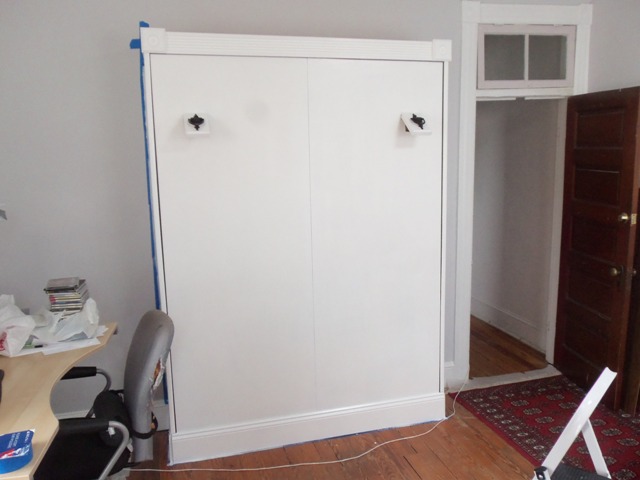
Yesterday I put the first coat of paint on my murphy bed. I think I’ll do another coat before I pronounce it painted. And it still needs pull-handles. But then it will be done. Hooray!

White and clean looking.  But it really does need some door handles.

Create-A-Bed Murphy Bed: Joyce’s Bed

While posting about building a murphy bed, I’ve had the pleasure of having Joyce stumble upon my website. Seeing that even someone like me could do it, she decided to build a bed herself. She has finished her project, and she sent me pictures. It looks great! It has really nice trimwork that finishes it off beautifully!

Her email made me laugh. Here’s part of it:

Hi Brad, Thanks for writing back. I feel the same way about building the bed. I had to do it because I couldn’t afford to buy one, but now that it’s done, I am so proud of myself for doing it! I have wanted to do it for a couple of years but was really afraid to tackle a project so large. My husband didn’t help, said it would look terrible. That made me all the more determined. I was going to make him eat his words!

“Eat his words”, indeed! Behold Joyce’s handiwork:

CLOSED:
It looks like a built-in cabinet!

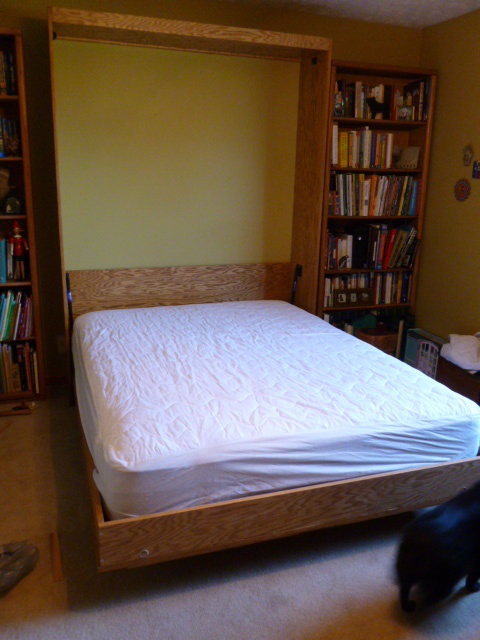
OPEN:
A fully functioning bed!

Create-A-Bed Murphy Bed: Day Eight

I was planning on just doing nothing yesterday, because it was my last day off before going back to teaching, but I couldn’t stop. I had to do the trimwork.

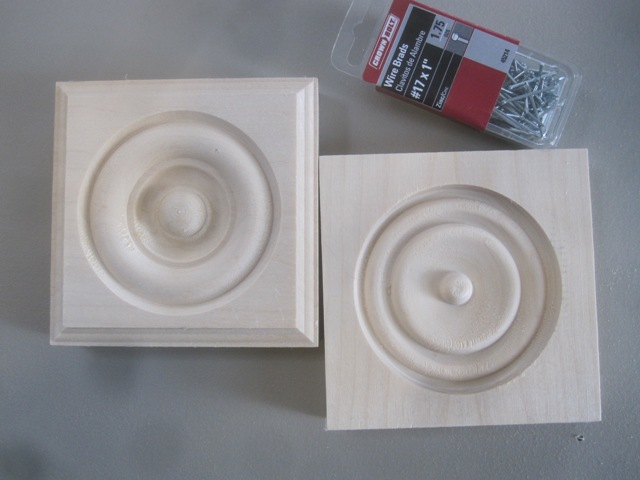
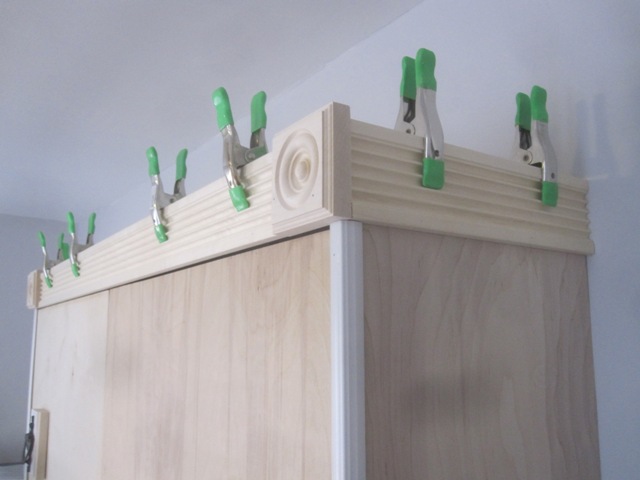
All along, I intended to copy the trim around the door and windows of the room. It’s a pretty standard old house trim: grooved borders, and corner blocks with circles. While I couldn’t find an exact match, I did find something that is complementary. One of the stores I went to had everything I needed, so I got it all and went home. But I forgot to get smaller nails, so I had to go back out. I was mad. I went to another store because it was closer. While I was there, I went to look at their trim and saw that they had nicer corner blocks. What was originally an angry trip turned into a blessing. I once wondered if I should thank God for such small, silly things. I don’t wonder any more (James 1:17).
The newer, nicer one is on the left.

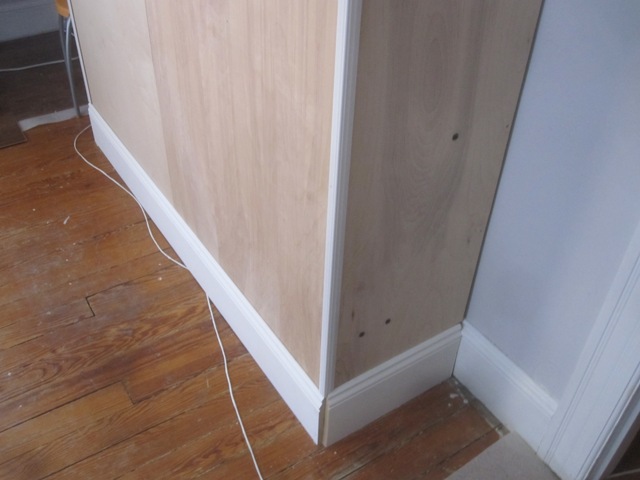
There were no directions for putting the trim on, so I was making it up as I went along, but I think I did a pretty good job. I used glue and finishing nails. Here are some befores and afters:

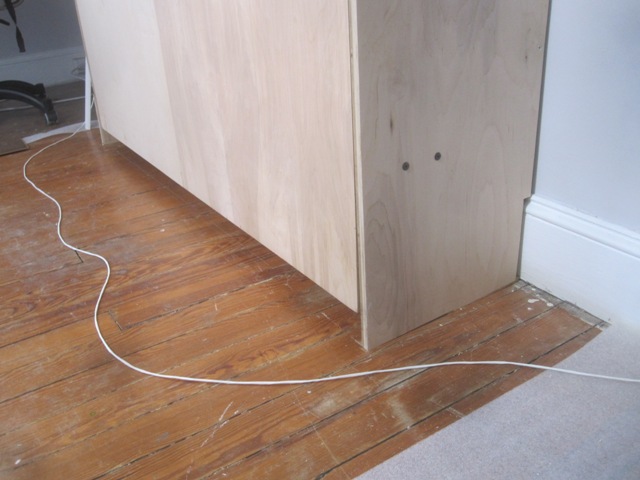
BEFORE:
There isn't much to connect the front baseboard to.

AFTER:
Not an exact match for the existing baseboards, but pretty close.

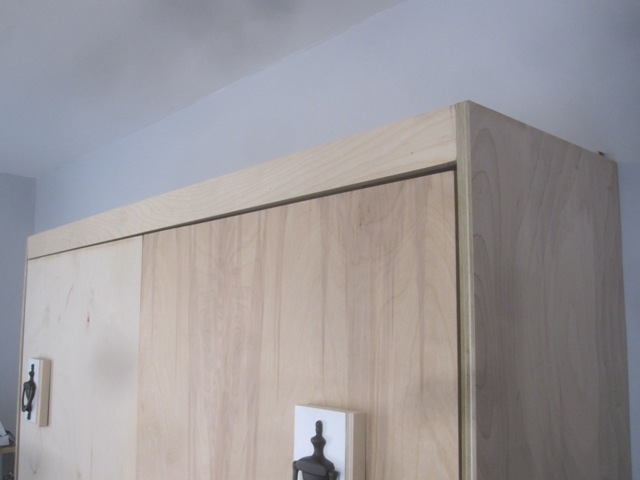
BEFORE:
It's just a wooden box.

AFTER:
Now it looks better.

I even found some nice molding for the corners. I think the cabinet looks so much better with the trim. It looks like it belongs in the room. Here’s a full picture of the cabinet. You can see the similar trim around the door to the room in this picture.
All it needs is paint and 'door handles'.

You can skip ahead to the next Murphy bed post by clicking HERE.

Create-A-Bed Murphy Bed: Day Seven

The murphy bed is assembled! Woo hoo! After all the scary and meticulous measuring, it was a fairly easy and stress-free process to put all the parts together. My assembly went according to the instructions on the DVD. The only snags were caused by my house being so old.

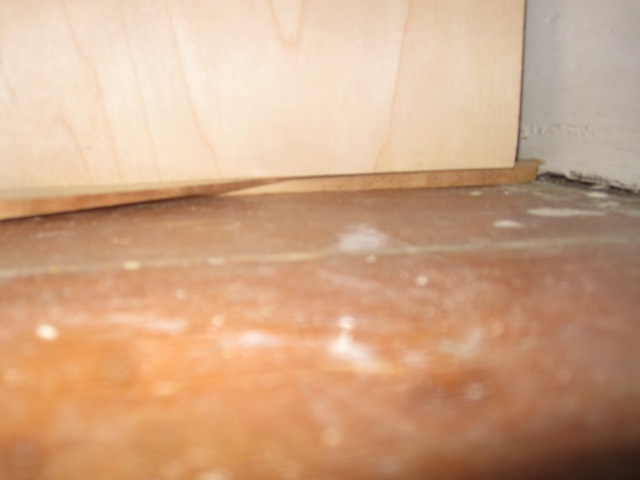
One difficulty was that the floor and walls are not square. I had to shim the bottom of the cabinet.
I actually think it would be okay without the shims, but I did it for added stability.

Another difficulty was in finding the studs in my walls. I have plaster over lathe. I wasn’t sure an electronic stud-sensor would work. I asked the guy at the store, and he talked for quite a while with me (he was quite a talker). He said when he used a stud-sensor, he would confirm by drilling into the wall and seeing if the drill hit any resistance. I am so glad he gave me that tip. I used his trick. It gave me such peace of mind. I know for sure my cabinet is attached to the wall-studs and will not be crashing down on anyone.
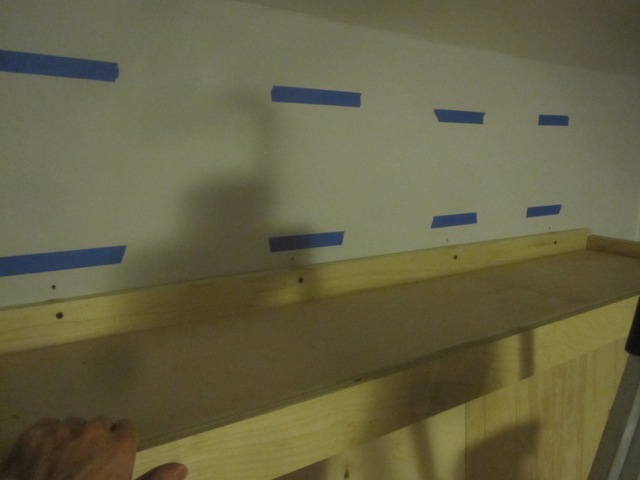
The test holes are directly above the cabinet.  I will fix them later.

I still have to finish the bed frame, attach some trimwork, and paint the cabinet, but the moving parts all function properly. Yay!

CLOSED:
It looks rather plain now, but I have some ideas.

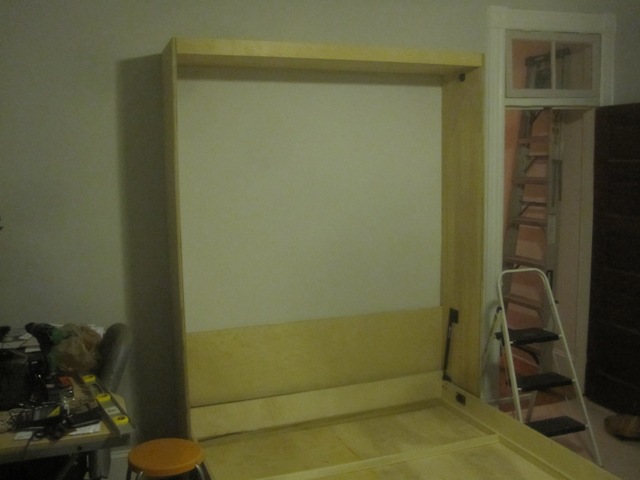
OPEN:
It actually looks like a bed!

« Older posts

© 2024 bradaptation.com

Theme by Anders NorenUp ↑