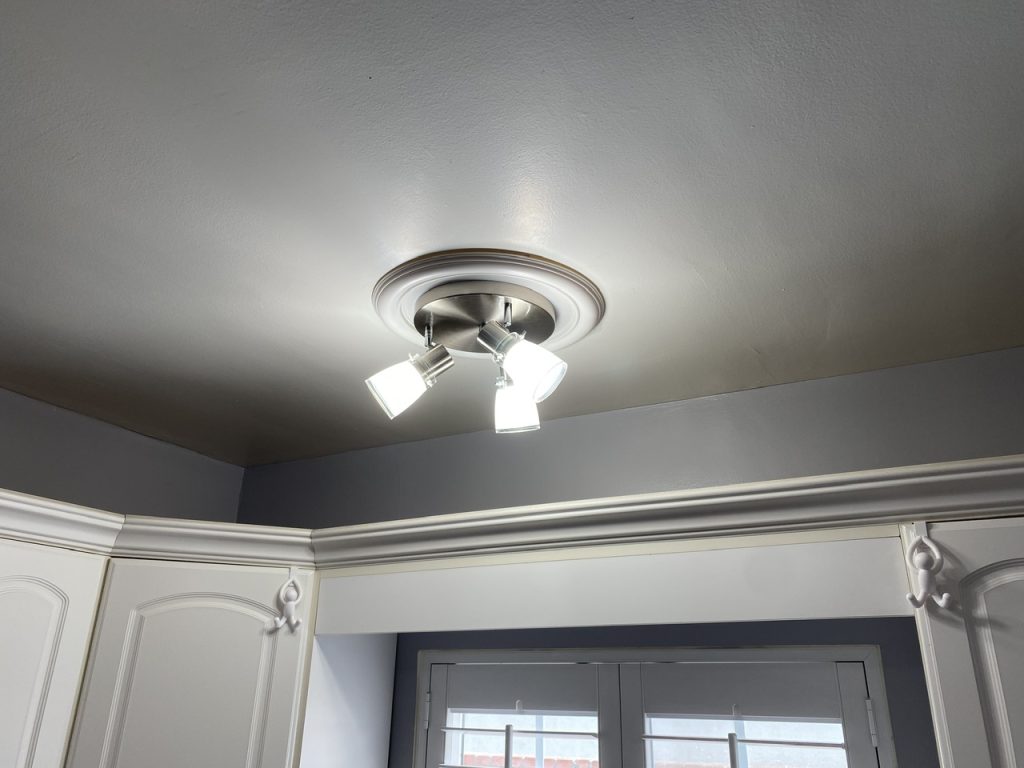
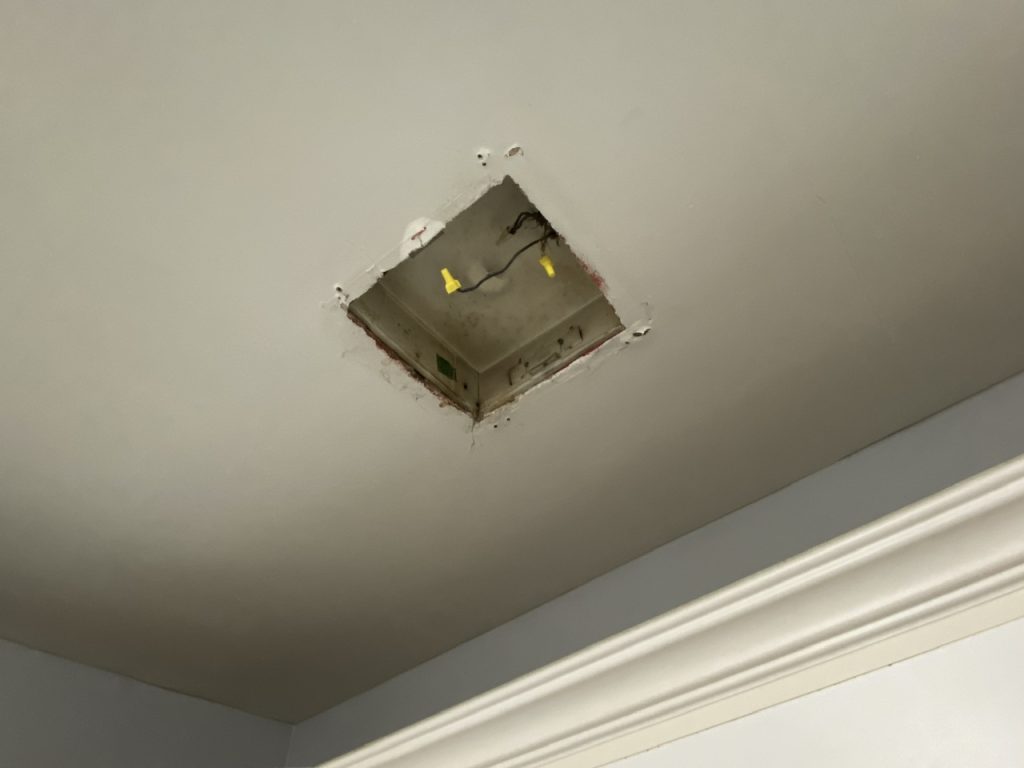
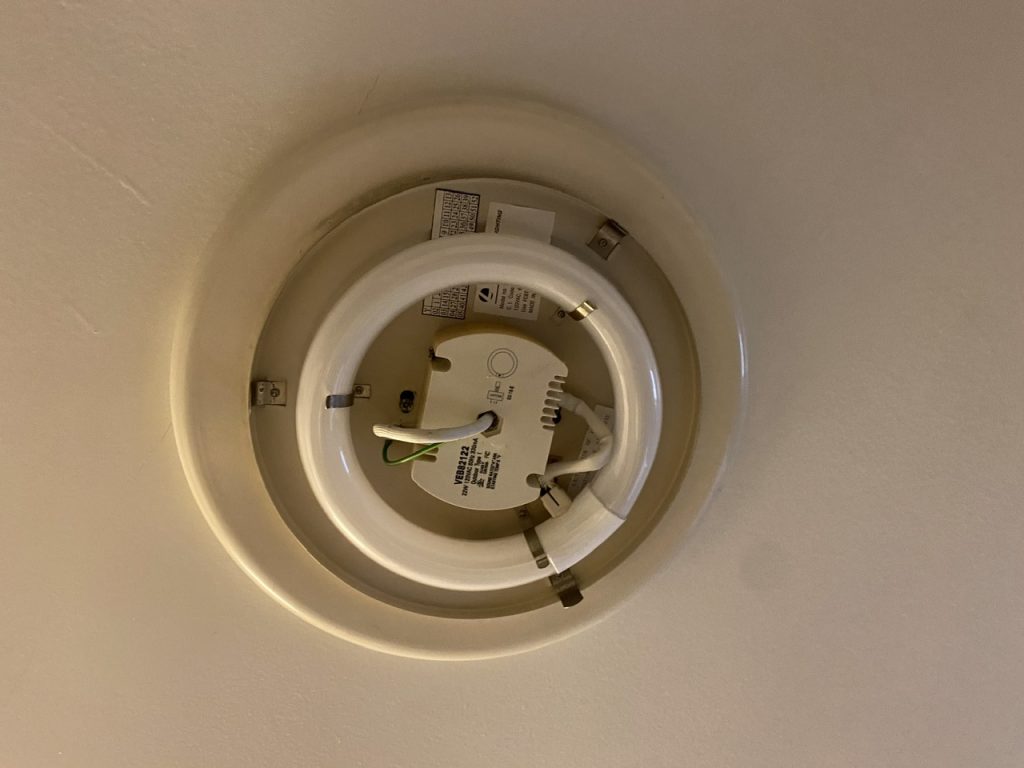
It was a Home Improvement Day yesterday. I figured out how to work around the weird metal box thingy in my kitchen ceiling, and now I have a light over the sink! Woo hoo! I predicted it would be a three-trips-to-Lowe’s project. It was only two!
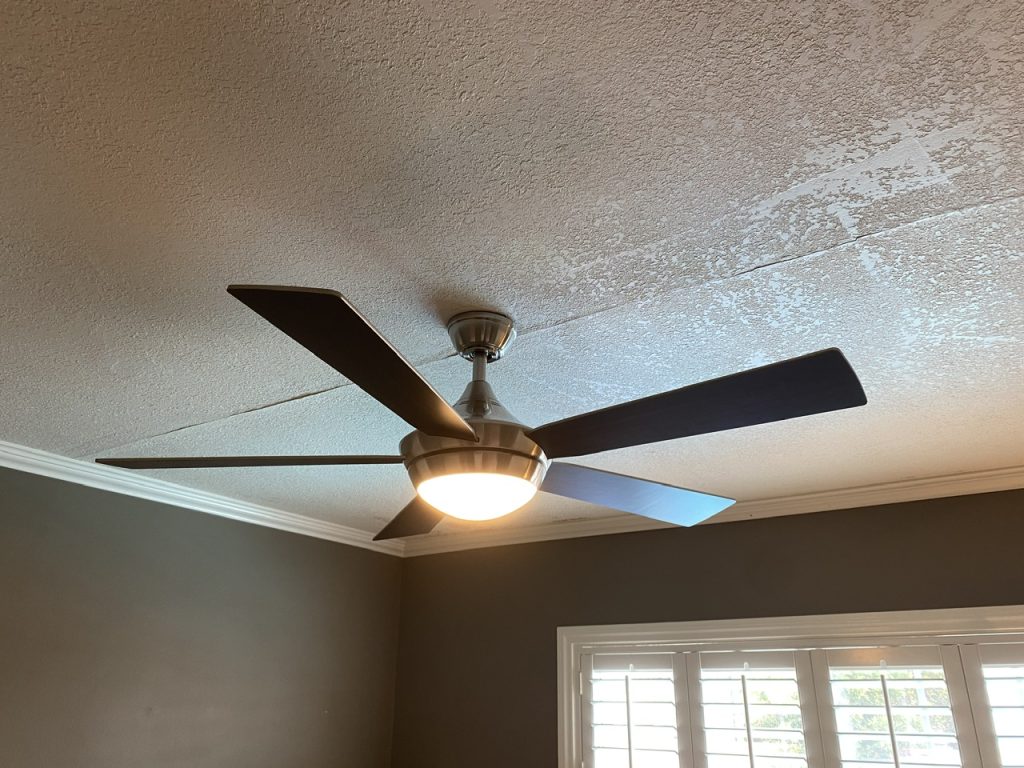
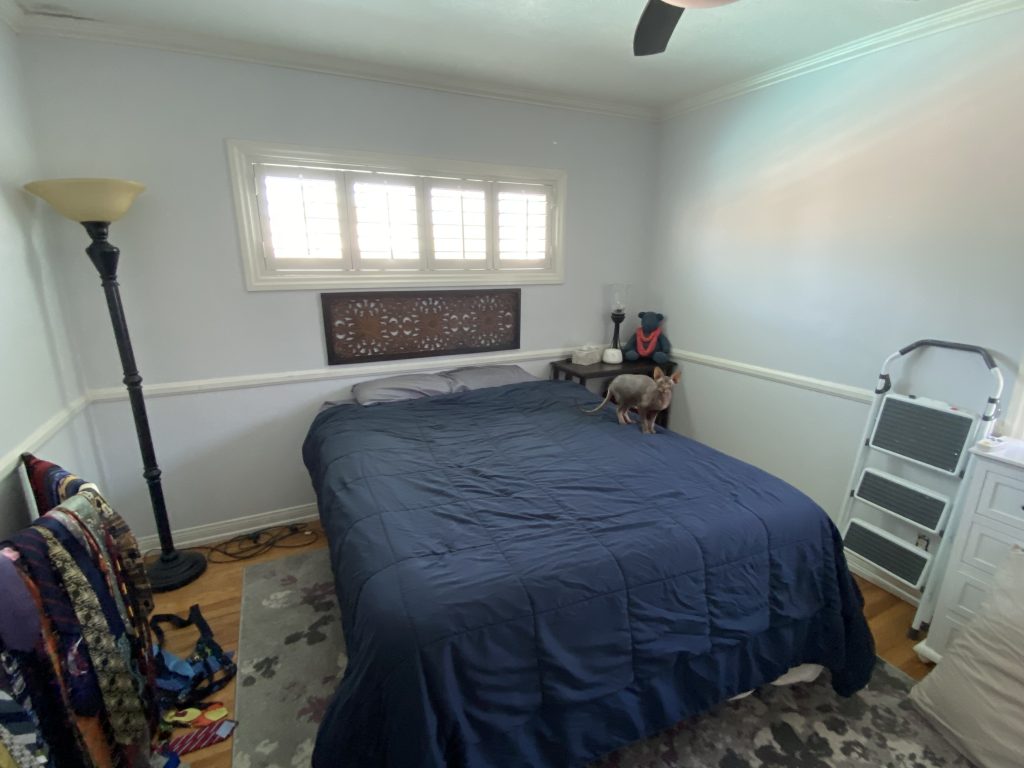
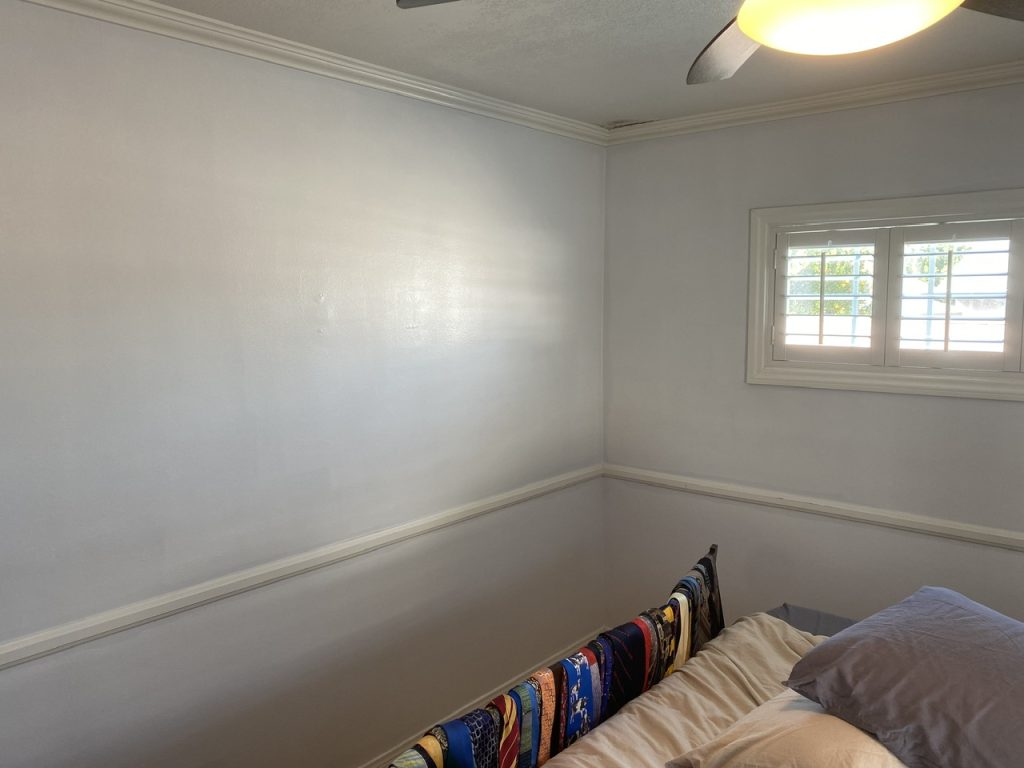
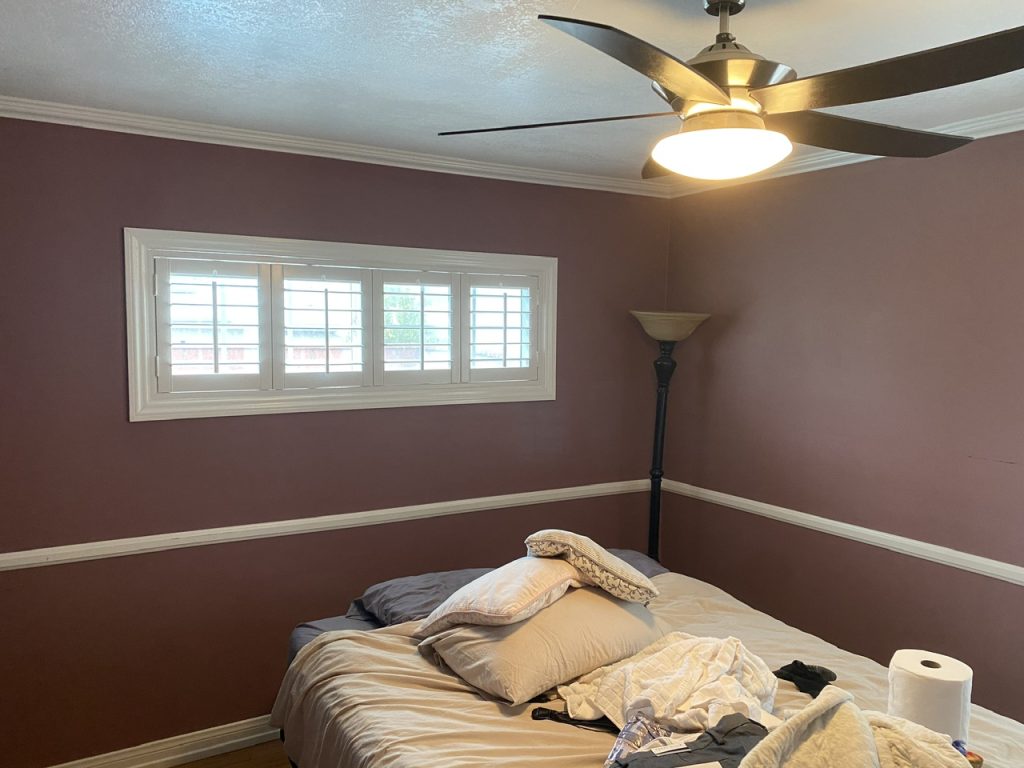
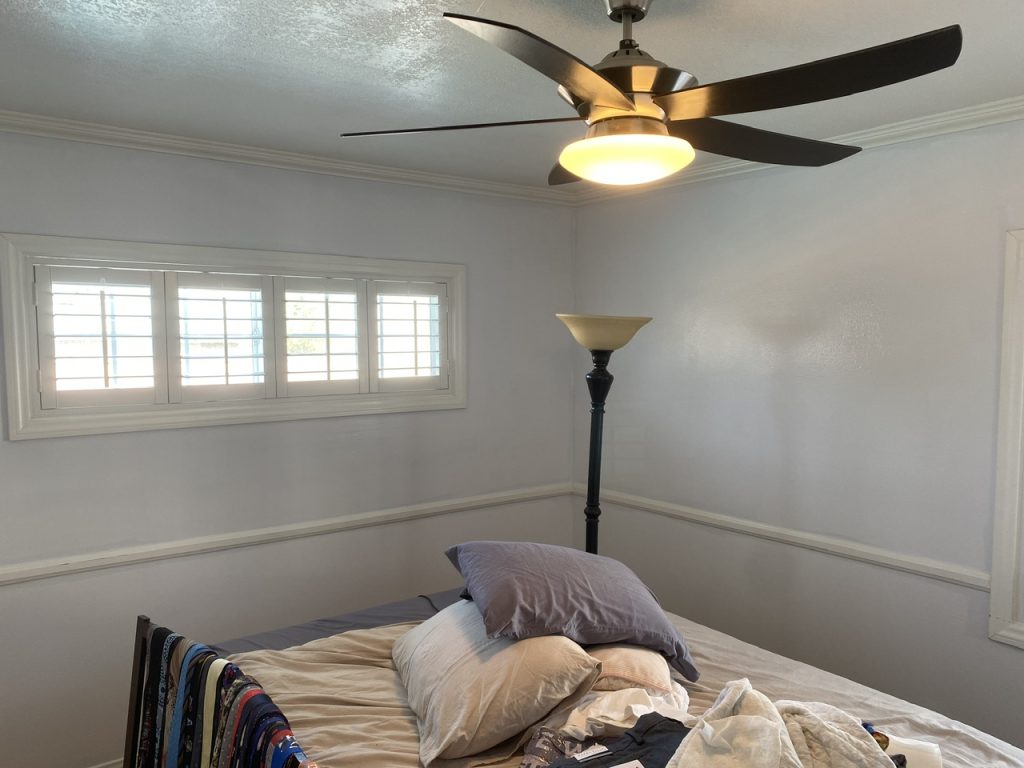
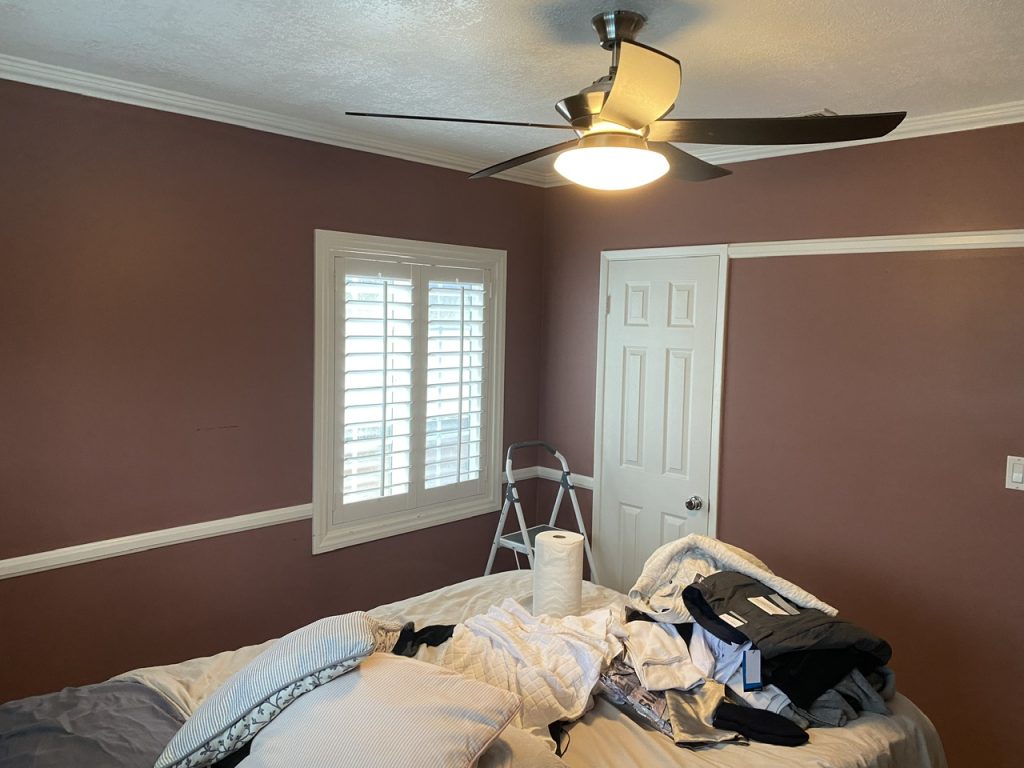
I’ve had a new ceiling fan for… weeks? …months? The old fan in one of my bedrooms had stopped working properly – no light at all, and a fussy fan.
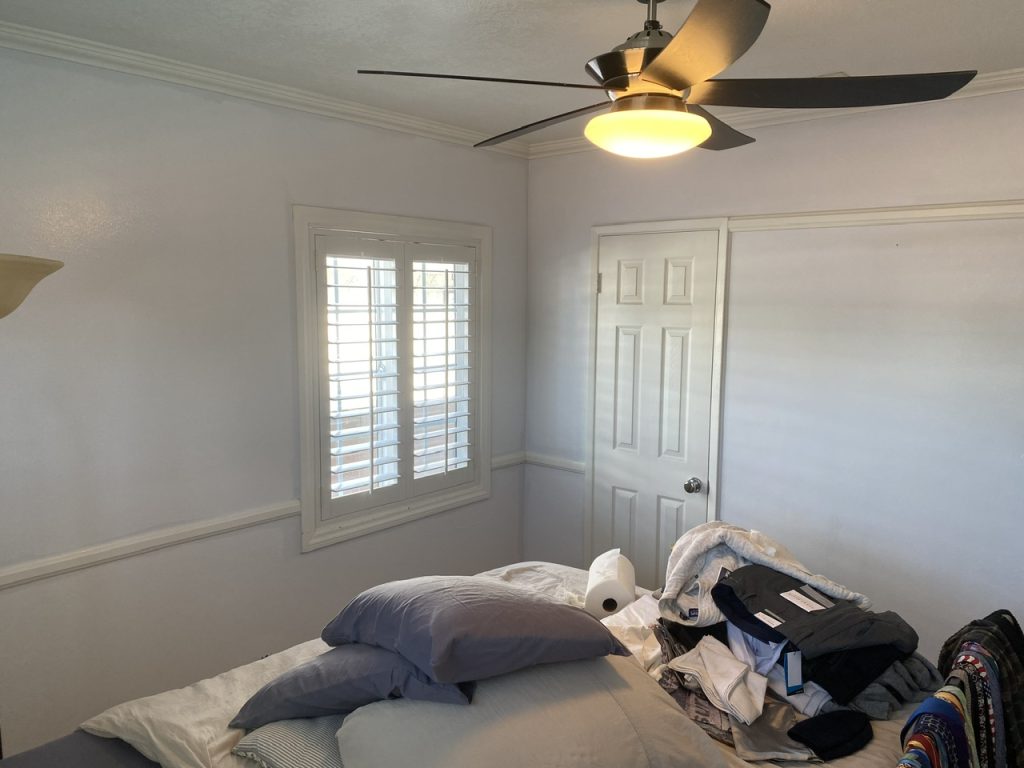
The new fan was a tricky installation as well. Two more trips to Lowe’s, and the fan was up. There’s light in the bedroom again!
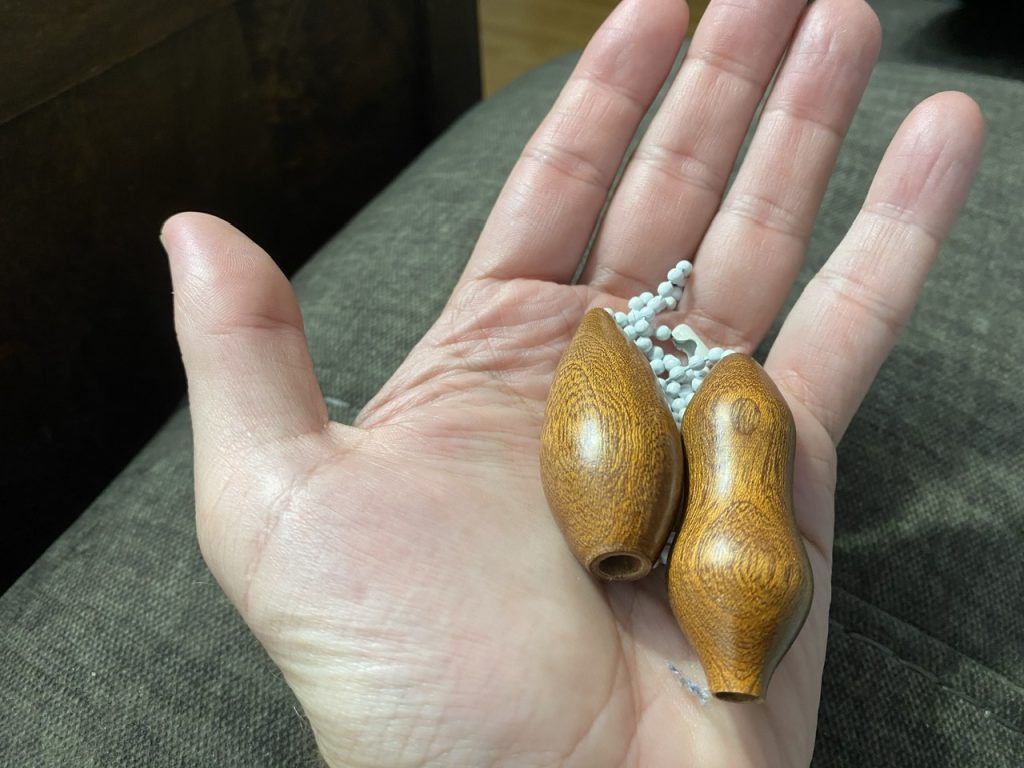
The only drawback is that the new fan doesn’t have pull chains, it has a remote. The old fan used wooden pull-knobs I got in Wales. I’ve connected them to each other for now. Maybe I’ll hang them from the rear-view mirror of my car…

Recent Comments