During the week, I fantasize about doing something productive on Saturday in my house, but then Saturday comes, and I really don’t want to do anything.
But this time, I DID do something! I finally straightened and organized my closet!
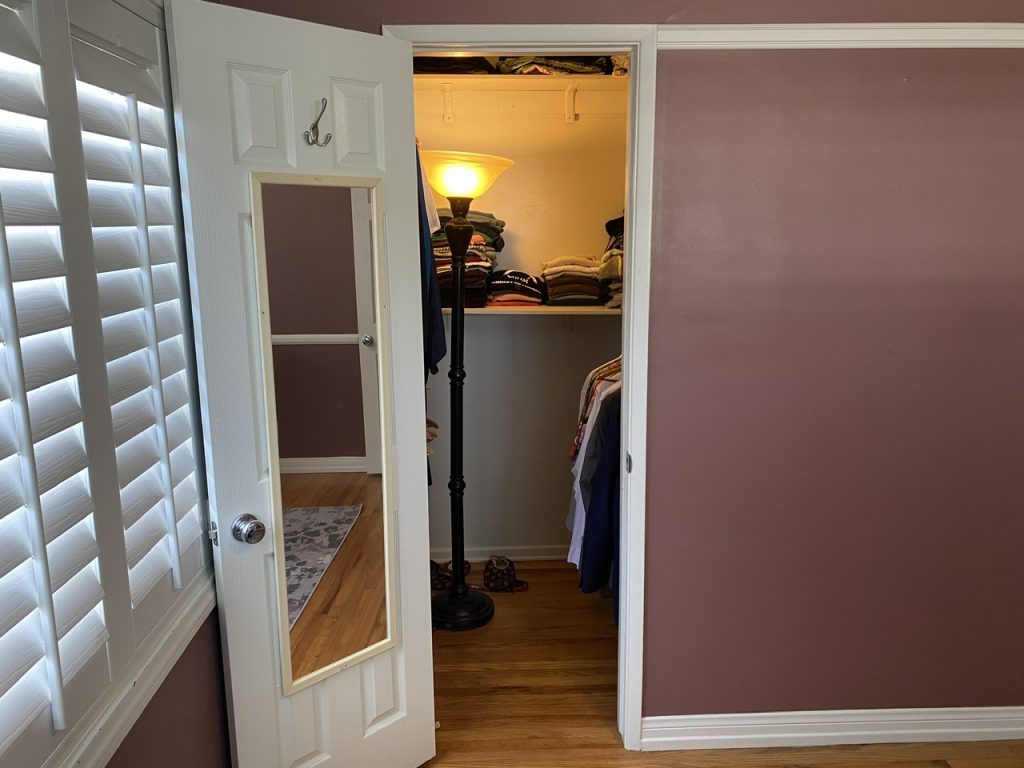
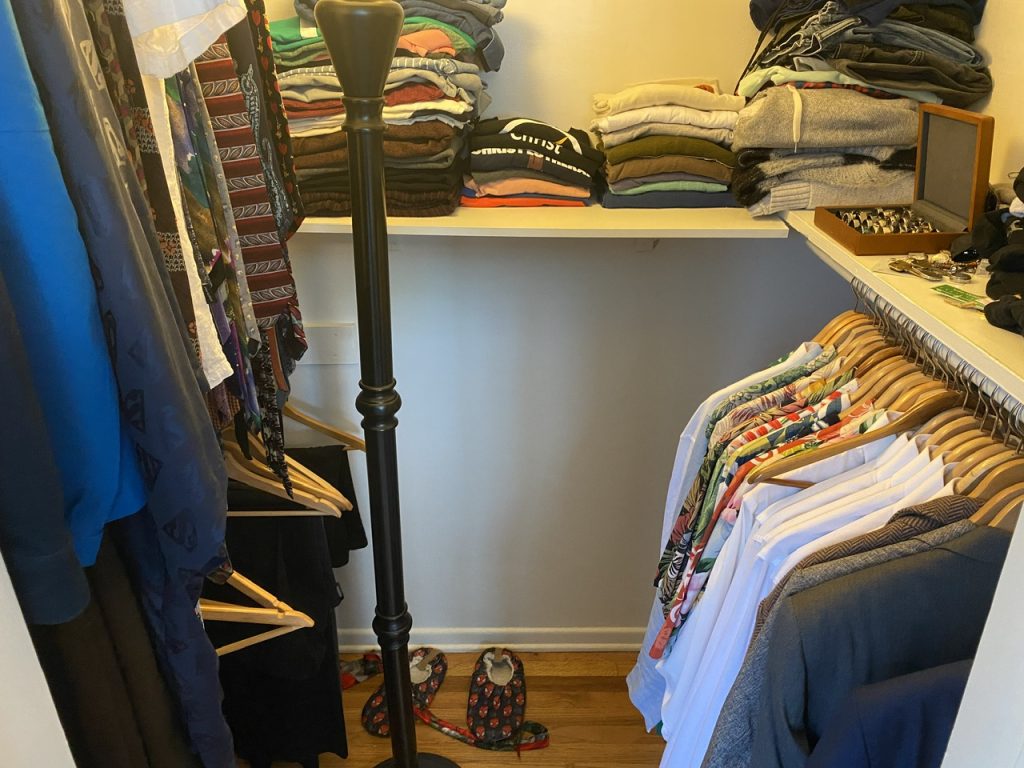
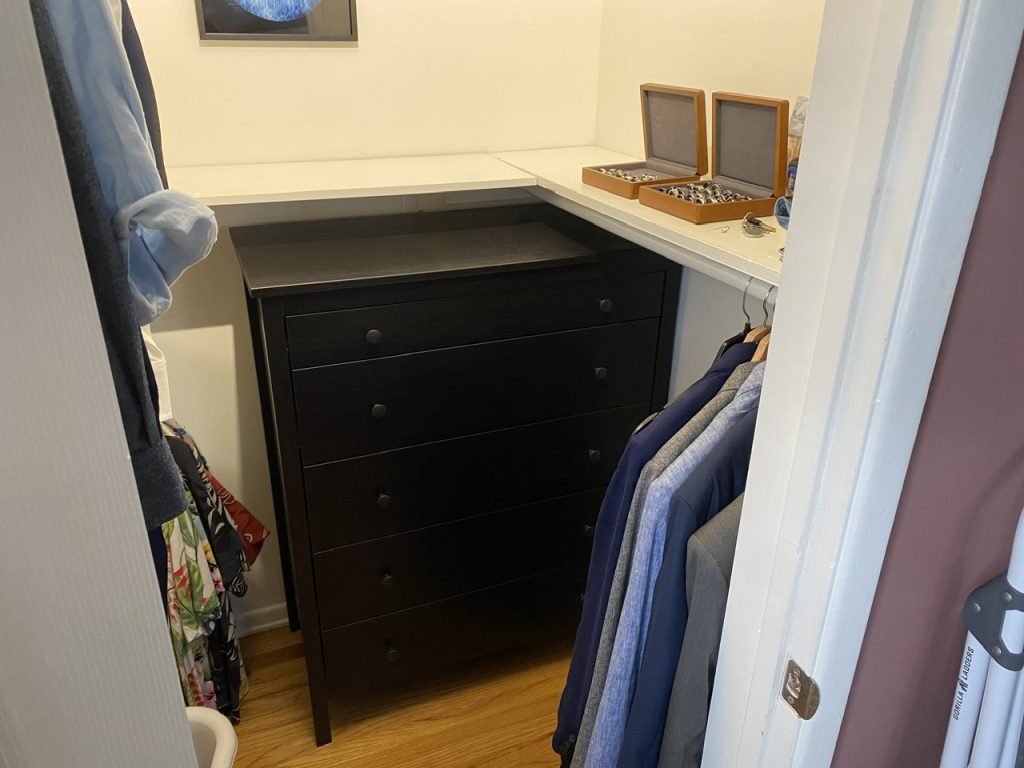
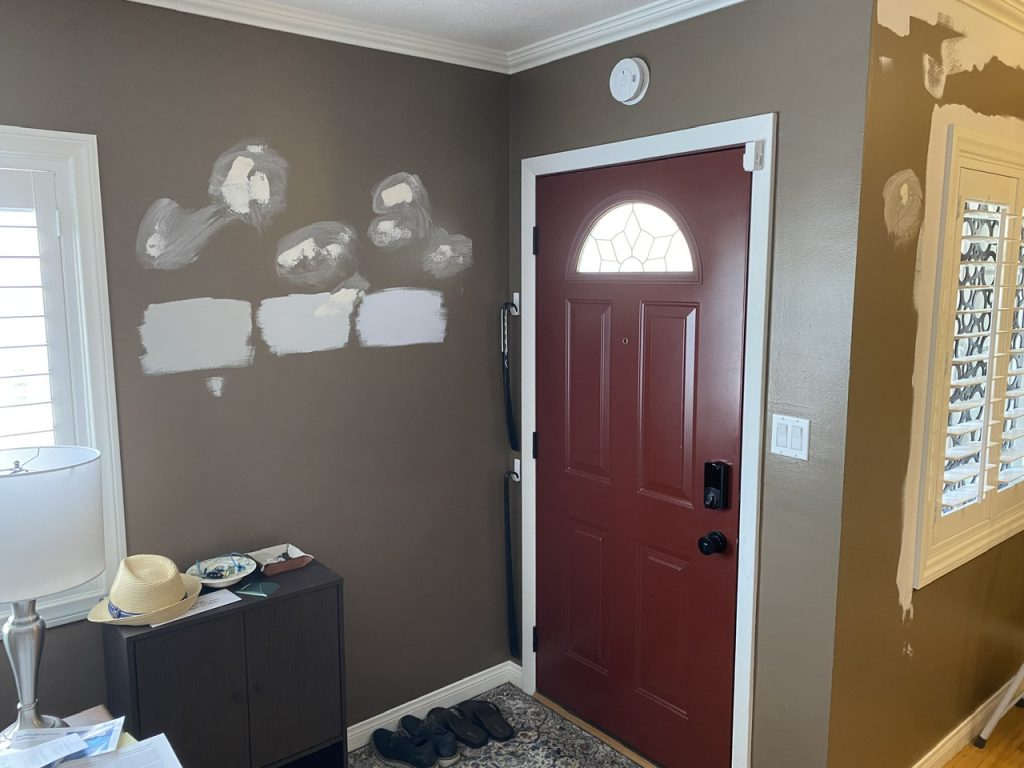
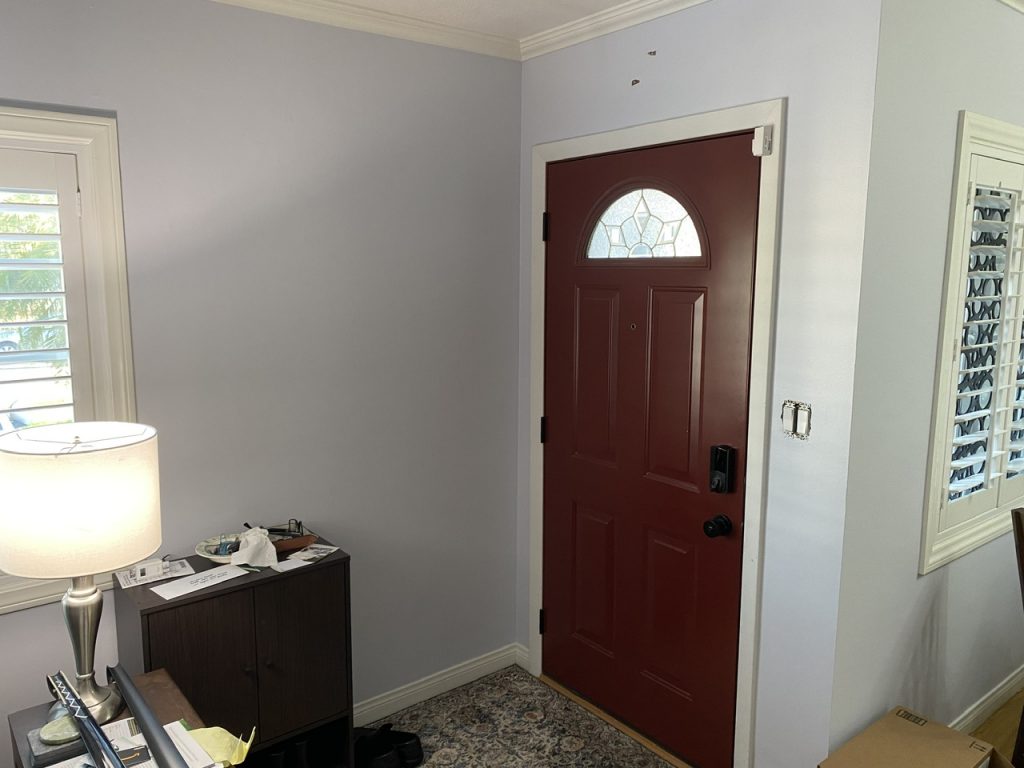
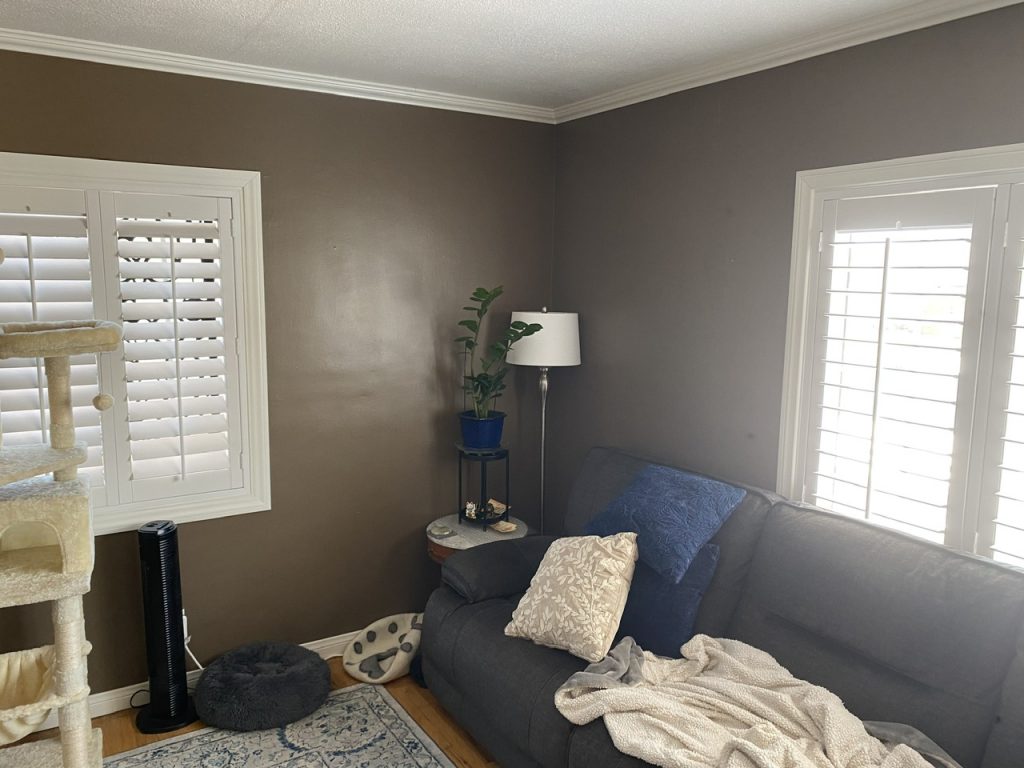
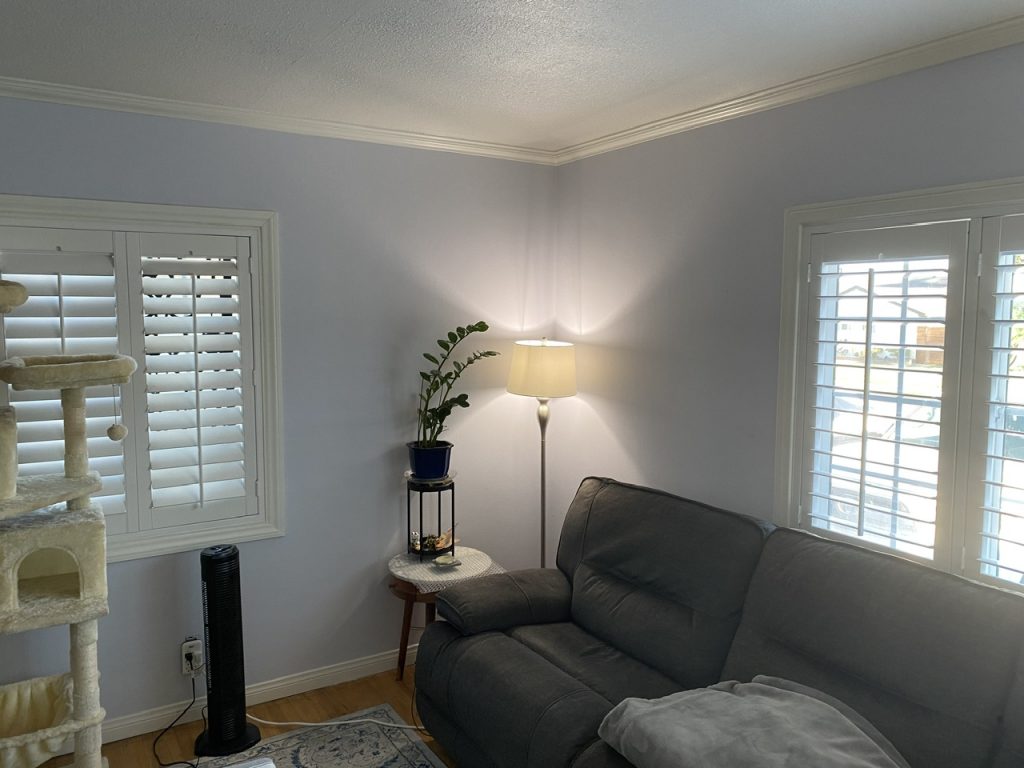
I took the “before” pictures at the beginning of August. Ha! I got the dresser back then and started using it, but didn’t do the rest of the organizing.
So here’s the process:
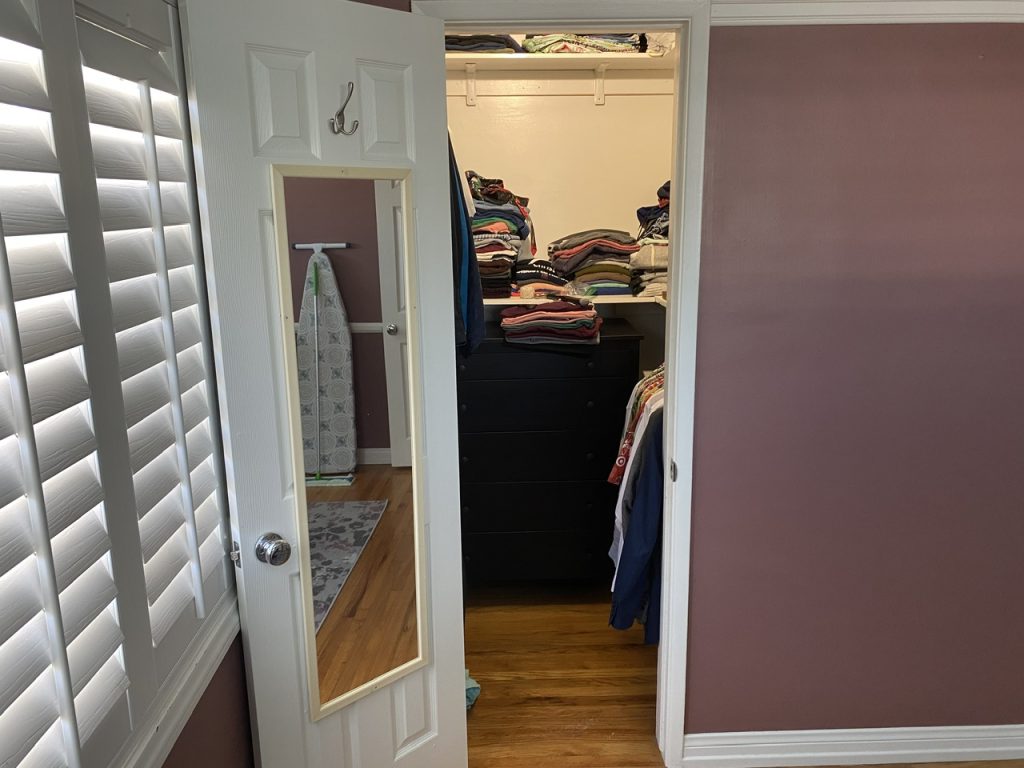
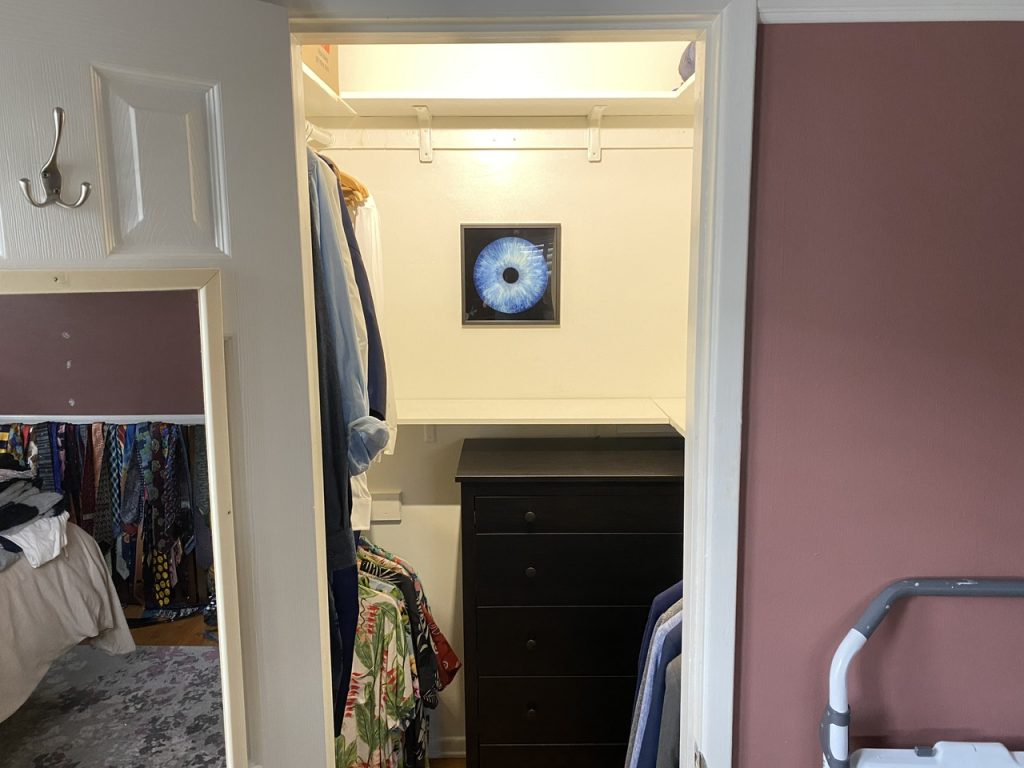
I got everything off the shelves! It looks so clean. I hung a shop light on the wall inside the closet, so I don’t use the floor lamp any more. And the closet was the perfect place for the picture of my iris.
One room in my house is done! Woo hoo!

Recent Comments